This feature is available to subscribers with the Booking List option only.
Overview
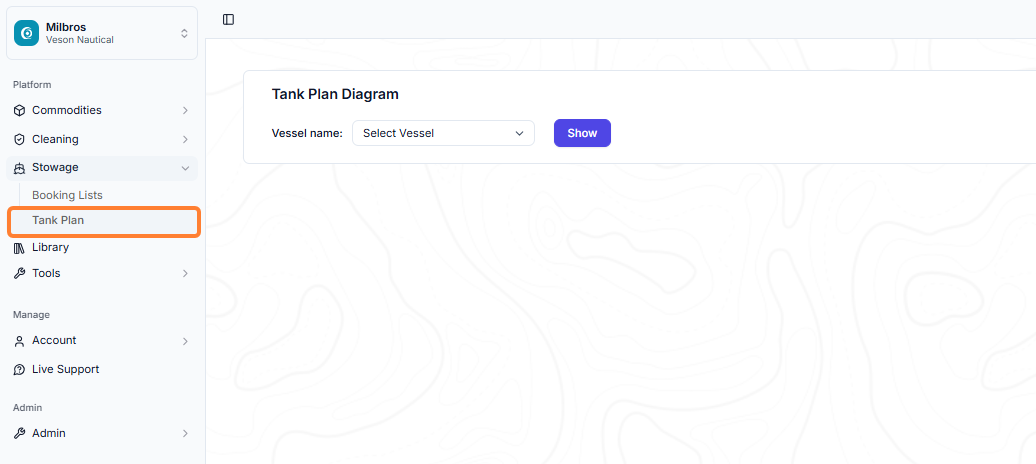
To access it, navigate to the left pane and select the Stowage module → select Tank Plan.
The Tank Plan module is used to create a tank plan layout for each vessel in your fleet. This layout will be used in the Booking List module to display the tanks where each cargo is stowed.
If you have already created the tank plan for your vessel on Q88.com then we will be able to link it to your Milbros account. Please contact support@milbros.com for more information.
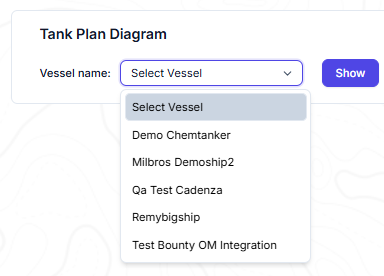
To view an existing tank plan select the Vessel → click Show from the Tank Plan Diagram main page.
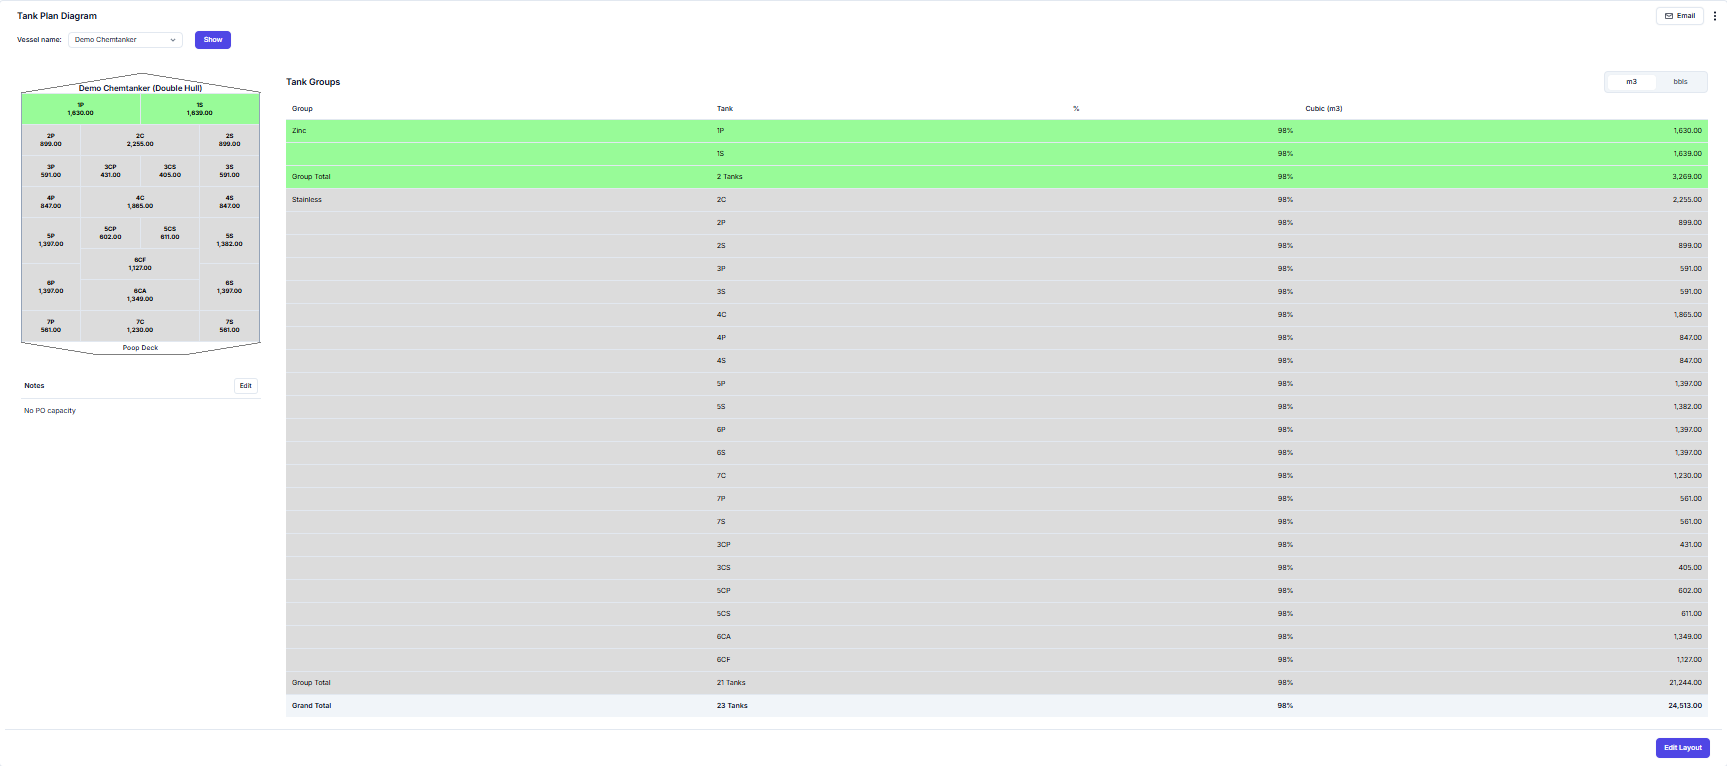
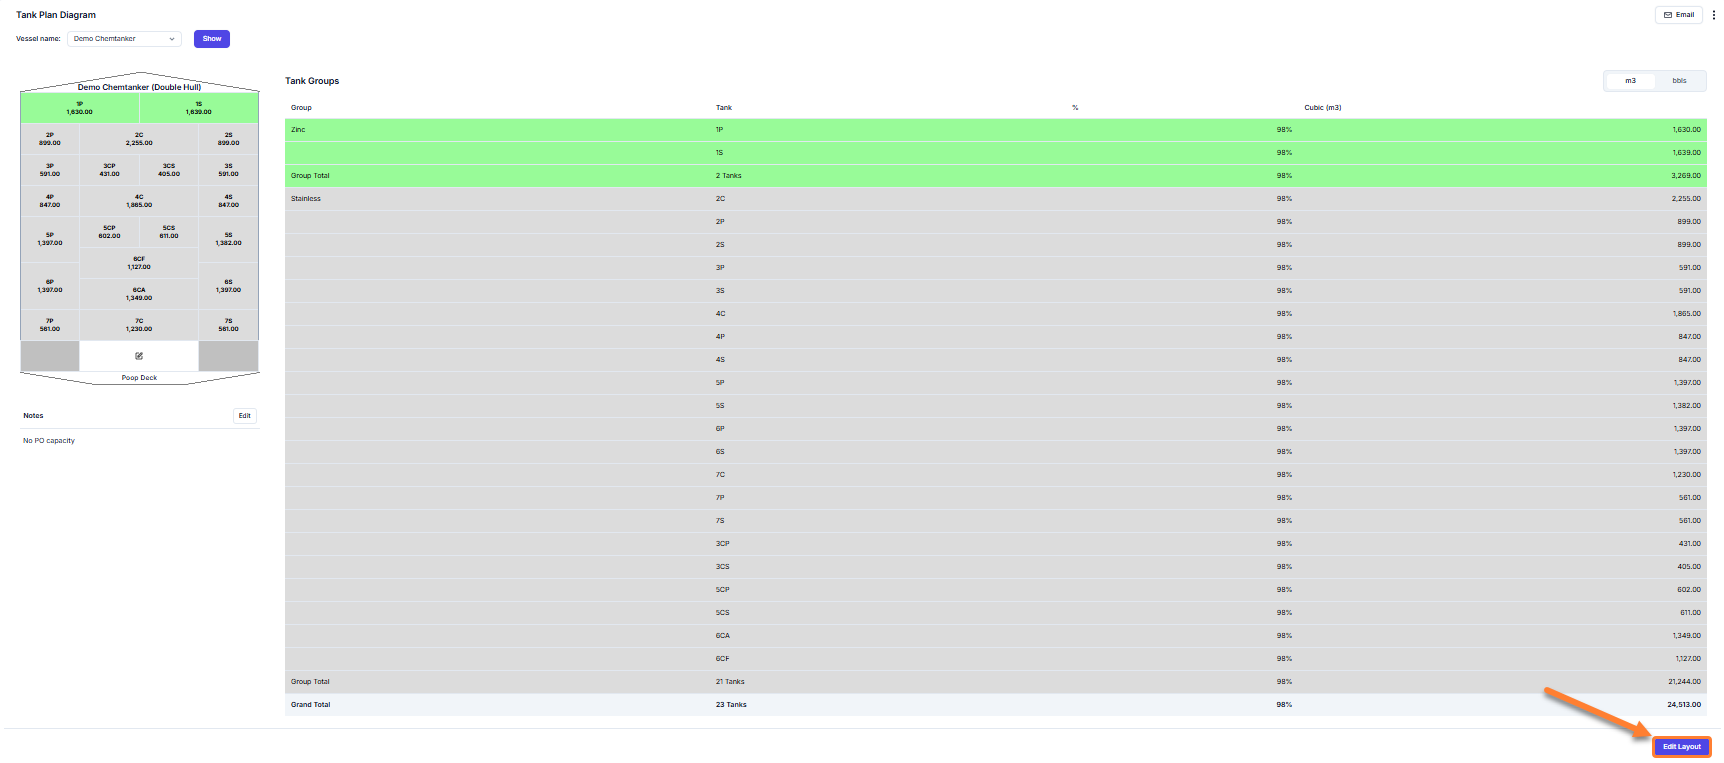
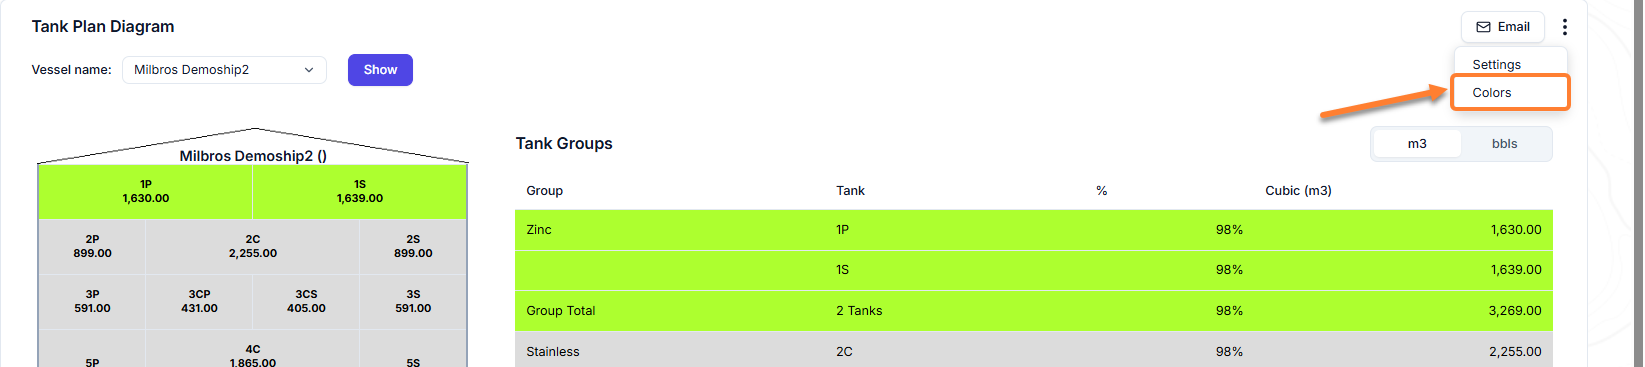
Below is an example of the tank plan diagram for a demo vessel:
Adding Vessel’s Tank Plan
When you add the tank plan for a vessel for the first time, no tank plan will be displayed.
When adding a tank plan for a vessel for the first time, no plan is shown.
If you want to edit an existing tank plan, click the Edit Layout button in the bottom-right corner of the page to create the Tank Plan diagram.
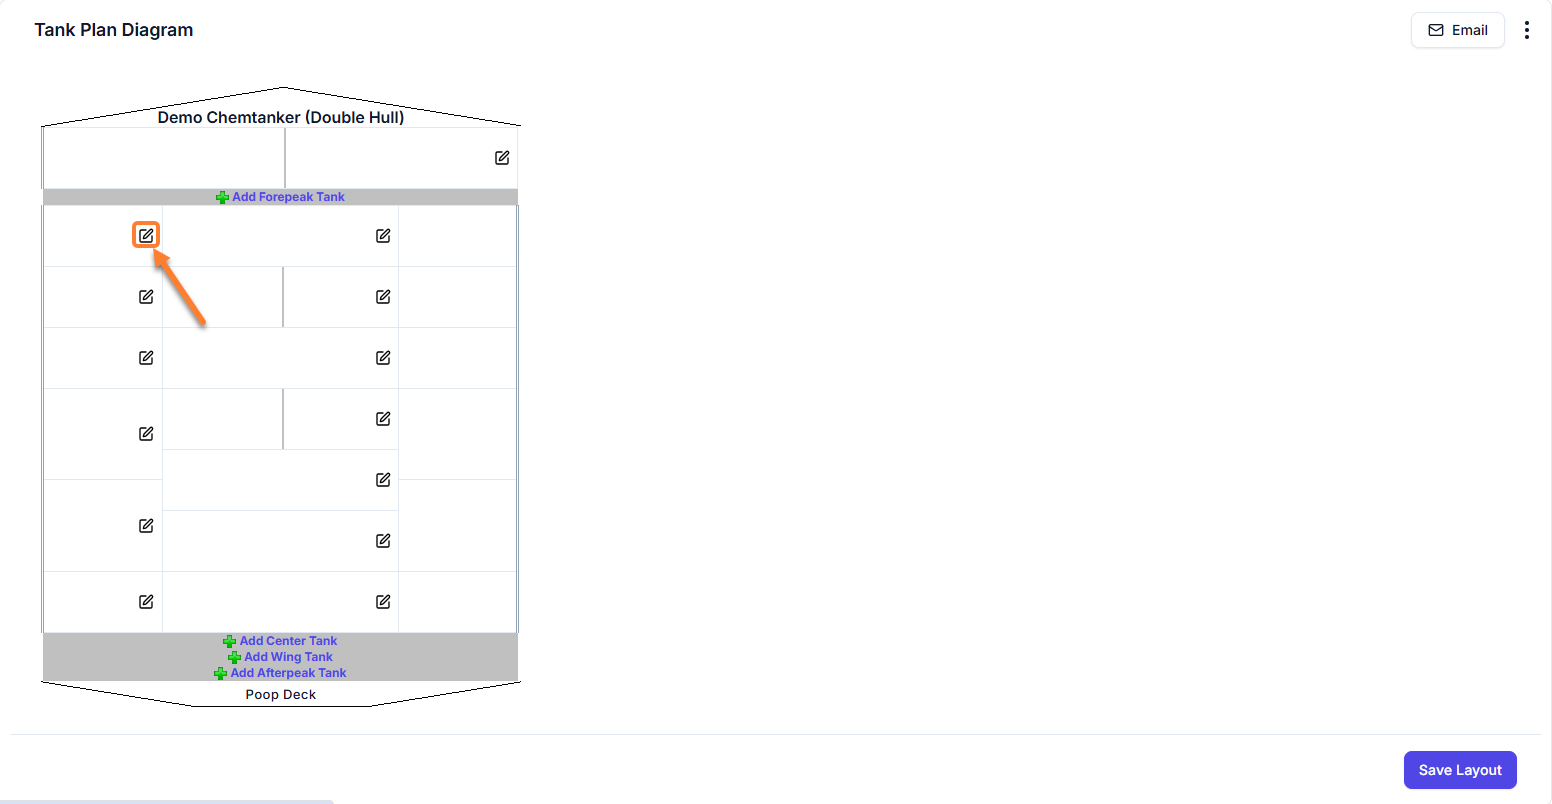
Click the Add Tank links to add the selected type of tank to the layout.

-
Add Forepeak Tank: Click the link to add a tank to the forepeak section of the layout. Forepeak tanks span the center tanks and the wing tanks if the vessel has wing tanks.
-
Add Center Tank: Click this link to add a center tank to the vessels tank plan layout.
-
Add Wing Tank: Click this link to add wing tanks to the vessels tank plan layout.
-
Add Afterpeak Tank: Click this link to add a tank to the afterpeak section of the layout. Afterpeak tanks span the center tanks and the wing tanks if the vessel has wing tanks.
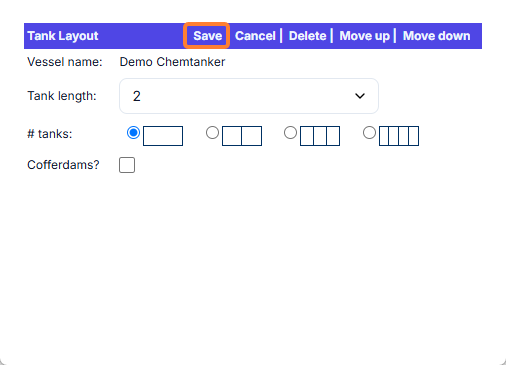
When clicked, a pop-up window is displayed:
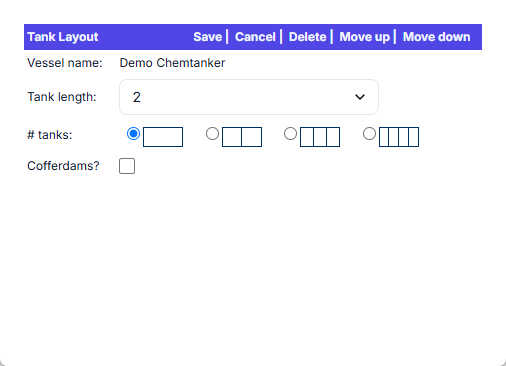
Above Fields explanation:
|
Tank Length: |
Set this to the longitudinal tank length. |
|---|---|
|
#Tanks: |
Specify the number of tanks within the selected cross-section. The options are 1, 2, 3 or 4 tanks. |
|
Cofferdam: |
Tick this checkbox to set the cofferdam locations within the selected tank cross-section. Click the sides of the tank to enable the cofferdam. Note: The cofferdams will display as a red double line between the tanks which have a cofferdam. |
When you have completed the entry of the information, click the Save button to save the settings for the selected tank cross-section.
The vessels tank layout will auto-refresh and now display the newly added tank.
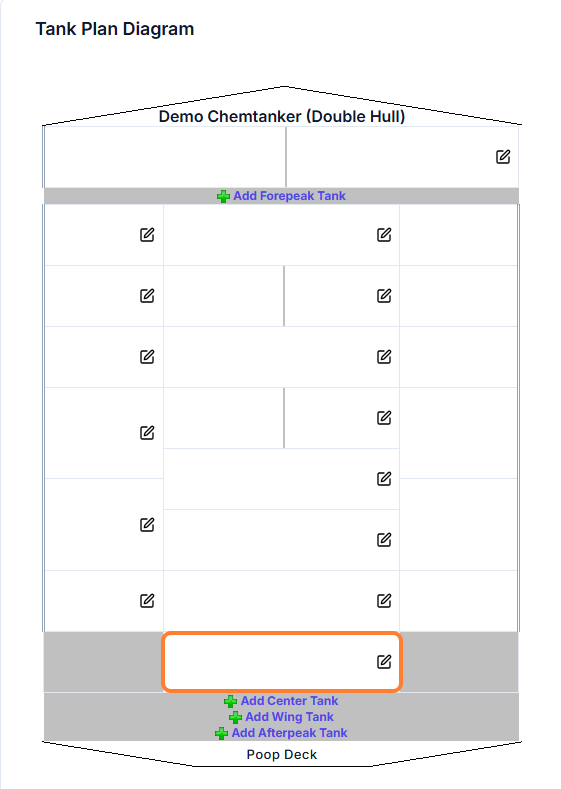
Repeat the process for the remainder of the tanks for the vessel.
When finished, click the Save Layout button in the bottom-right corner of the page.
The screen will now display the new layout of the vessel.
Edit a tank plan
In order to edit the information for each tank click the Edit Layout image.
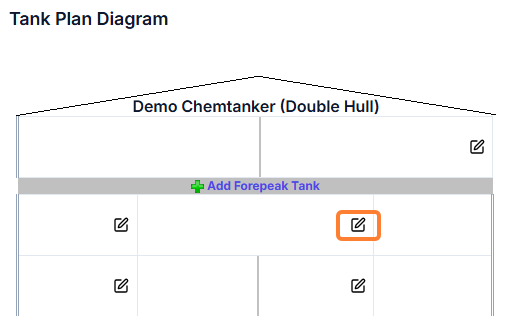
Then click the Edit Pencil icon on the tank that you wish to update the data for.
Edit the data for the tank and click Save.
Once all the required tanks information has been edited click the Save Layout.

Copy Tank Plan To Another Vessel
If you wish to copy the Tank Plan to a sister vessel then click the Settings link from the action menu in the top-right corner of the page:
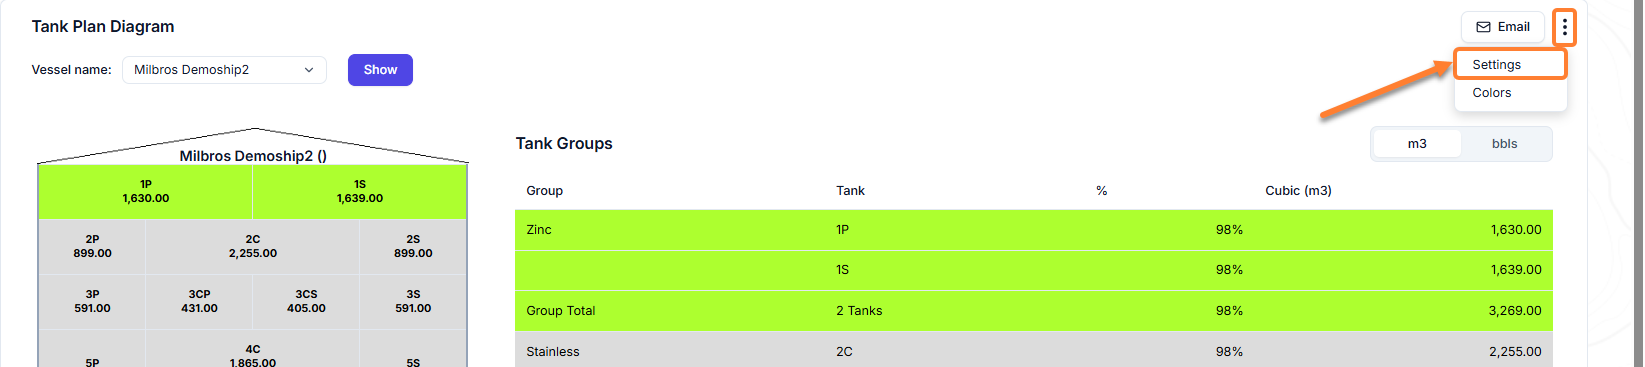
Then select the vessel you wish to copy the tank plan diagram to and click Submit.

A pop-up window will inform you that the tank plan has been copied to the sister vessel.
Color Selection
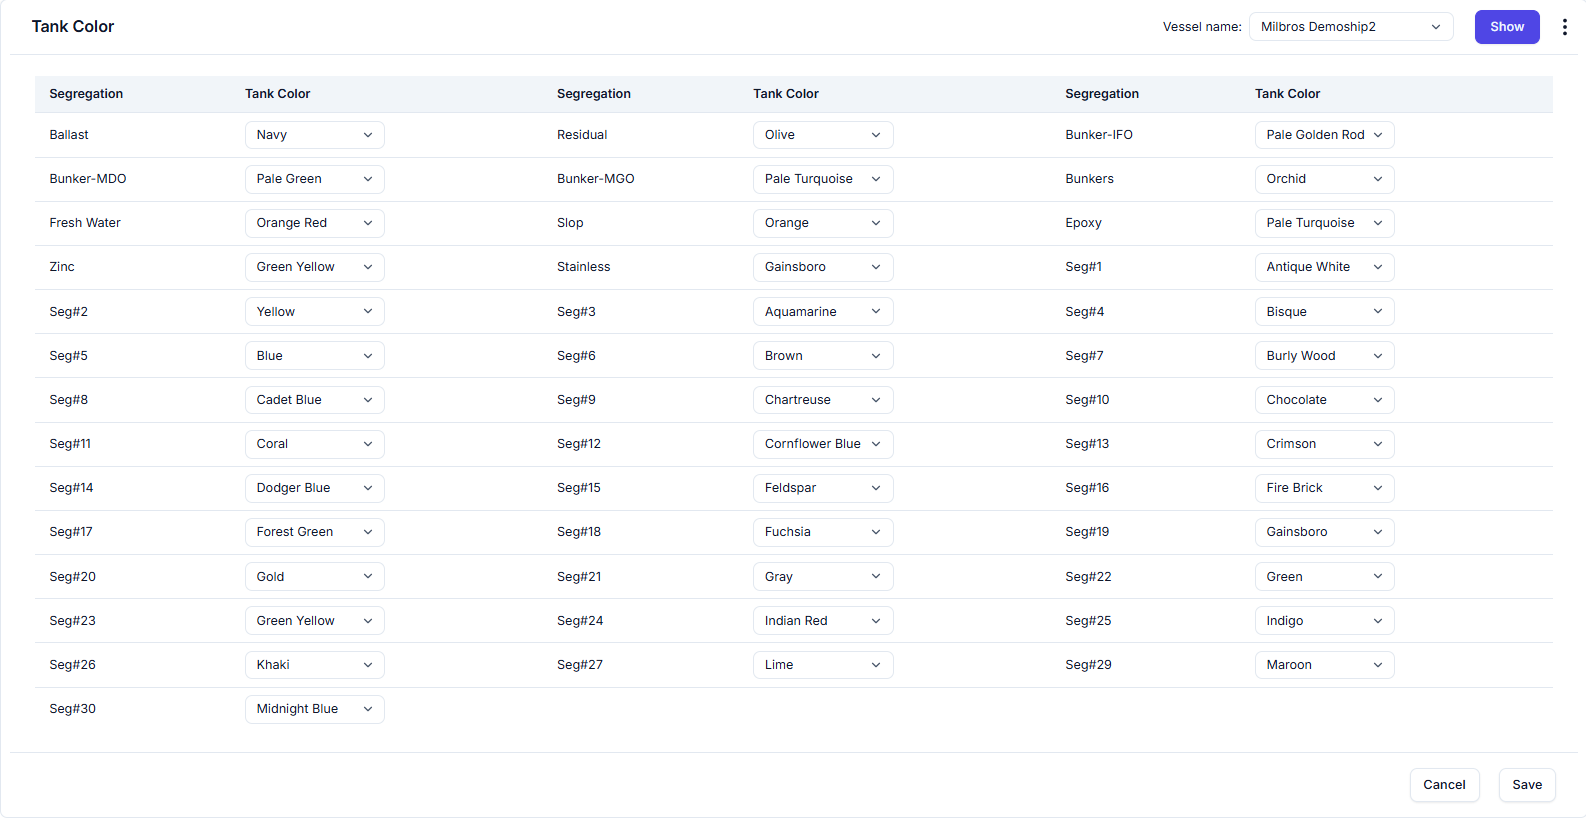
The tank segregation/coating colors can be customized for your vessels. Click the Colors link in the action menu in the top-right corner of the page to select the colors you wish to use for each segregation/coating.
Select the color(s) and click Save.
Notes
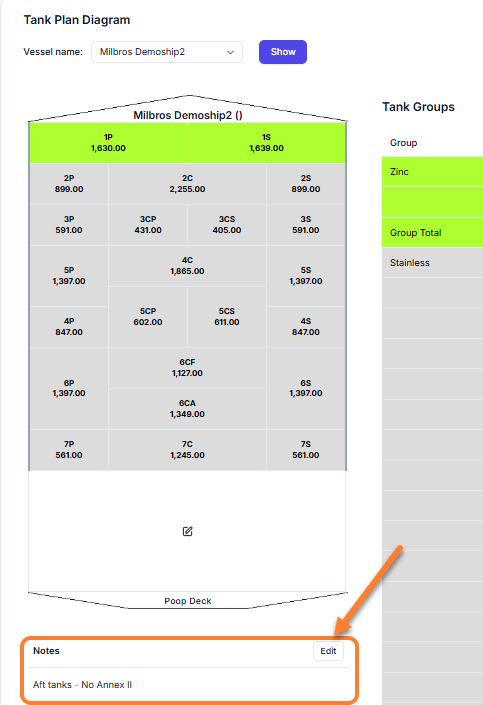
You can add your notes in the Notes section by clicking the Edit icon and click Save.