IMOS - Contacts - Voyage
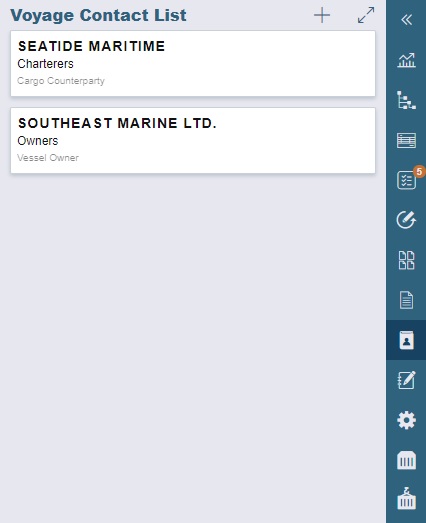
On the Voyage Manager, the Contacts panel displays information for each counterparty associated with the voyage.
To open or close the panel, click 

To open a contact's Address Book entry in a new tab, click its card.
To view the Voyage Contact List, click
 .
. Phone numbers and contact information appear for each Contact, so you can easily see how to reach them.
To see the company's Address Book entry, click its card, row, or link.
To return to the panel, click
 .
.
Adding a Contact
To add a contact:
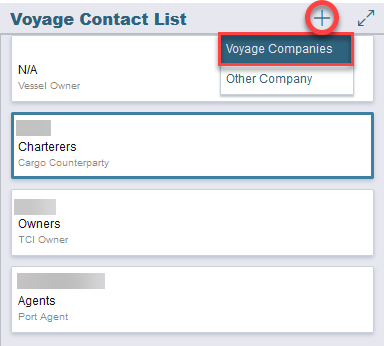
On the Voyage Contact List or panel, click + and then click one of the following:
Voyage Companies:

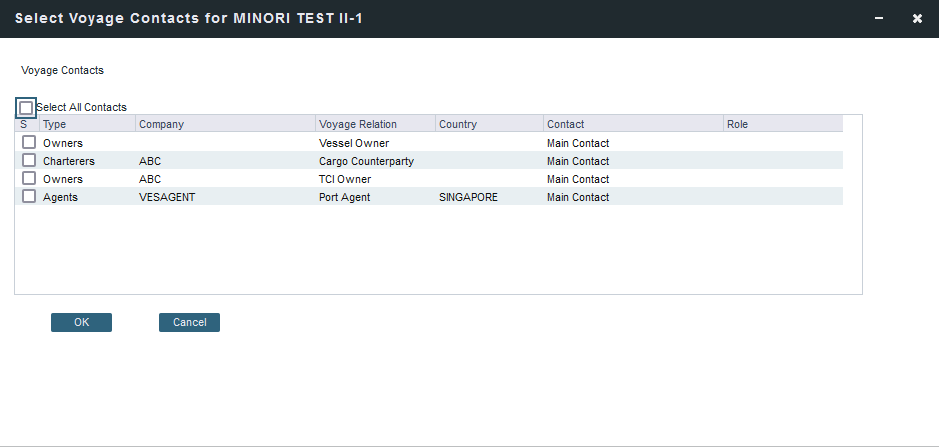
On the Select Voyage Contacts form, select from all the contacts of all the associated voyage companies and then click OK.Other Company:

On the Voyage Contact form, select a Short Name from the Address Book. Any other completed fields on the Address Book record (Type, Full Name, Address, Phone, Fax, etc.) are pulled in.
You can also do the following:
Assign a Contact Role, after setting up Voyage Contact Roles.
Add Attachments.
Select a Subcontact (from the Contacts grid on the Address Book entry).
Save the contact.
Subcontact and Company details appear in the Voyage Contact List.
If a Company is the main contact, the Contact Last Name column has a Main Contact link to open the Contact form.
If a main contact has not been selected, the Contact Last Name column has a Select Contact... link to open the Select Voyage Contacts form.
