🔑 This is a Key Topic, with high value for all users.
Note: You must have the Advance Payment/Receipt Allocations Module Right selected, under Transactions in Financials. To allocate an advance payment, a clearance account must be set up in the Chart of Accounts and assigned in the relevant Account Period.
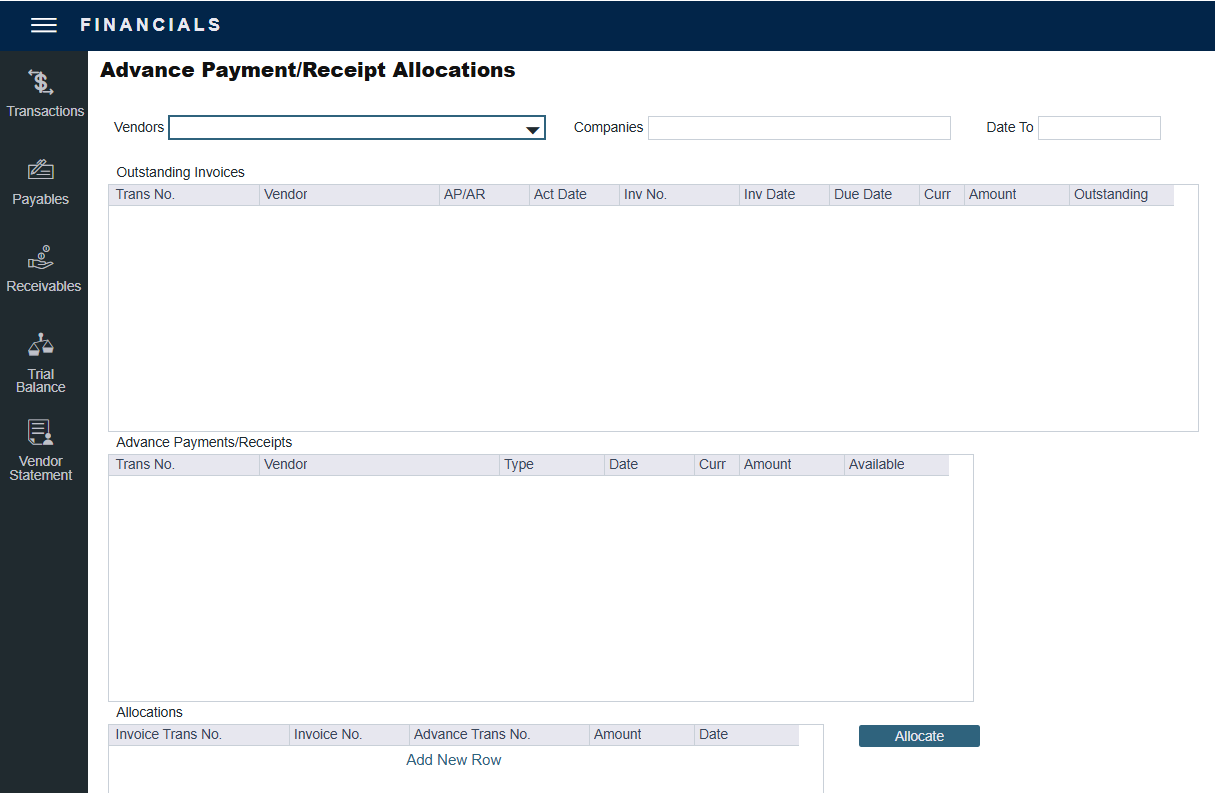
Allocating Advance Payments or Receipts to Invoices
After you create Advance Payments or Receipts, you can allocate them to outstanding invoices with the same vendor and currency on the Advance Payment/Receipt Allocations form.
-
On the Financials menu …, under Transactions, click Advance Payment and Receipt Allocations.
-
Select Vendors. Outstanding Invoices, Advance Payments/Receipts, and Allocations grids populate.
-
You can filter by Companies and/or accounting Date To.
-
To allocate advance payments/receipts to invoices, do one of the following:
-
In the Advance Payments/Receipts grid, in the middle, right-click an Advance Payment or Receipt and click Auto-Allocate. The amount is allocated to all the relevant invoices and appears in the Allocations grid. If the amount is not enough to cover all invoices, it is prorated between them. The advance transaction is unchanged; instead, new allocation transactions are created.
-
In the Allocations grid, at the bottom:
-
To view more information, right-click a line and then click See Details.
-
Adjust allocations in the Allocation Details form as needed (as long as the total allocated amount does not exceed the Advance amount).
-
-
-
To commit the Advance allocations to the invoices, click
