
Accessing Manage Vessels
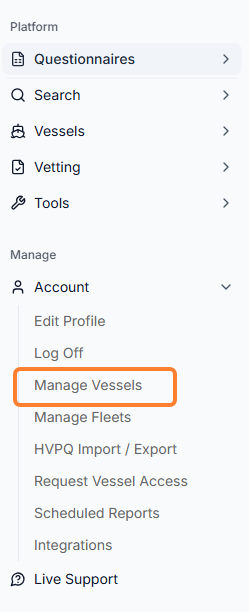
You can view/edit the Manage Vessels page by navigating to the Account → Manage Vessels.
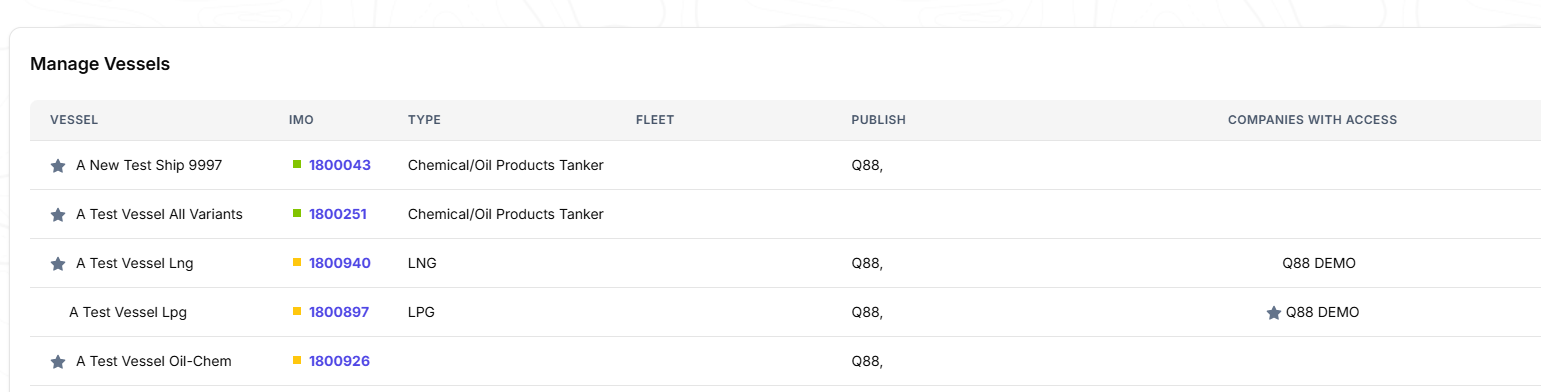
A table with all registered vessels under your account is displayed.
-
Columns (Name, IMO, Type, and Fleet): You can see the vessel’s Name, the IMO number, Type, and Fleet that you have assigned the vessels.
-
Publish column: The Publish column displays the documents that are available to all Q88 users for read-only and download.
-
Companies with Access columns: Depending on your access right, this column will show which Companies has access to each vessel.
-
Star: The star icon indicates the company the vessel is registered under.
-
Small Squares: The small squares besides the IMO number indicates how recent the Q88 form was updated.
-
🟩 : The last 30 days.
-
🟨 : The last 2 months.
-
🟥 : The last 3 months or more.
-
-
Edit icon: Depending on your access rights you can click on the Edit icon to navigate to the Vessel’s tab for further actions.
Q88 Onboard Users: This will depend on the access level provided to you but typically user admins who has access to all modules will have access to the Manage Users option. For help with access, kindly get in touch with you IT administrator.
Actions on the Vessel Tab
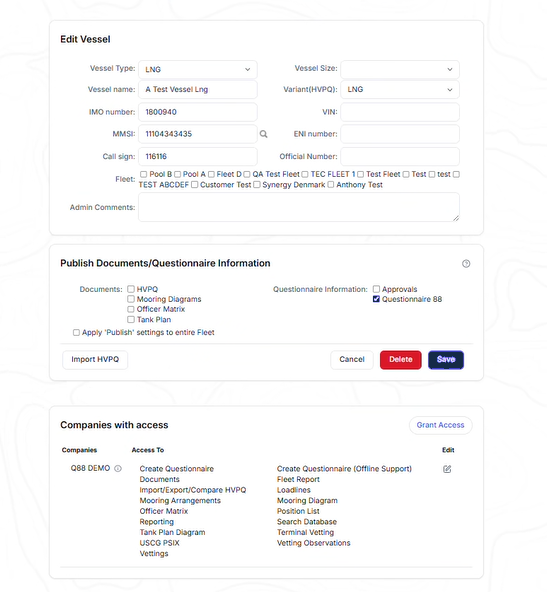
Edit Vessel
-
Use the relevant fields to amend the specs.
Fleet
-
Assign the vessel to any available Fleet.
Publish Documents/Questionnaire Information
-
You can select which modules or documents are published for this vessel by ticking off the relevant box to apply the Publish settings to the entire fleet.
-
Click on the Import HVPQ button to import the HVPQ6 file.
Companies with access
-
You can add/edit/delete the Companies with Access to this vessel.
-
Click on the Delete button to request the deletion of the vessel from your account.
-
For any changes you have made, do not forget to click the Save button.
-
Add a New Vessel
To add a new vessel to your account, click the Add New Vessel link.
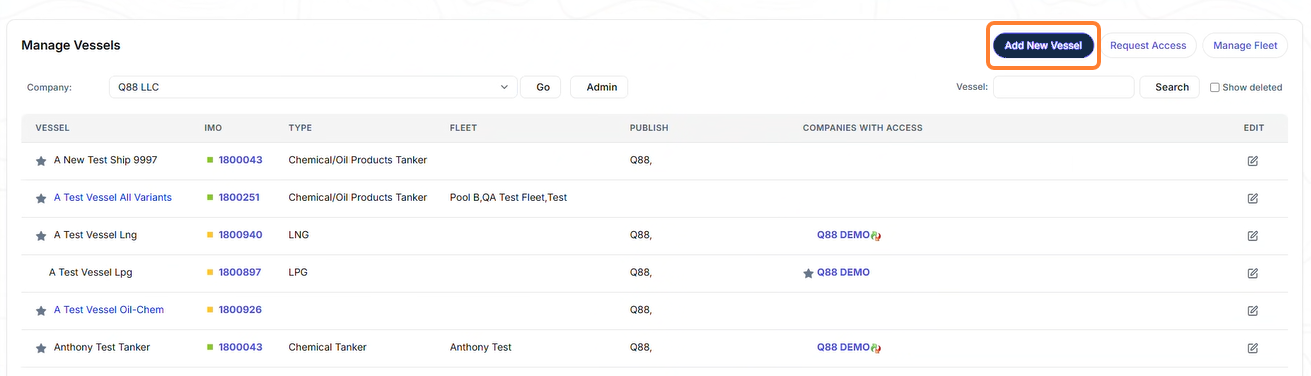
You will be redirected to a blank vessel tab.
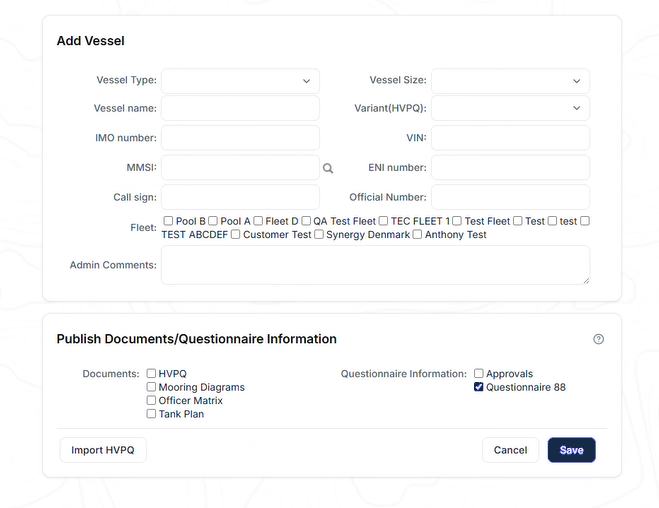
Once completed, click the Save button.
Request Access to Another Vessel
To Request Access to another vessel, click the Request Access button.
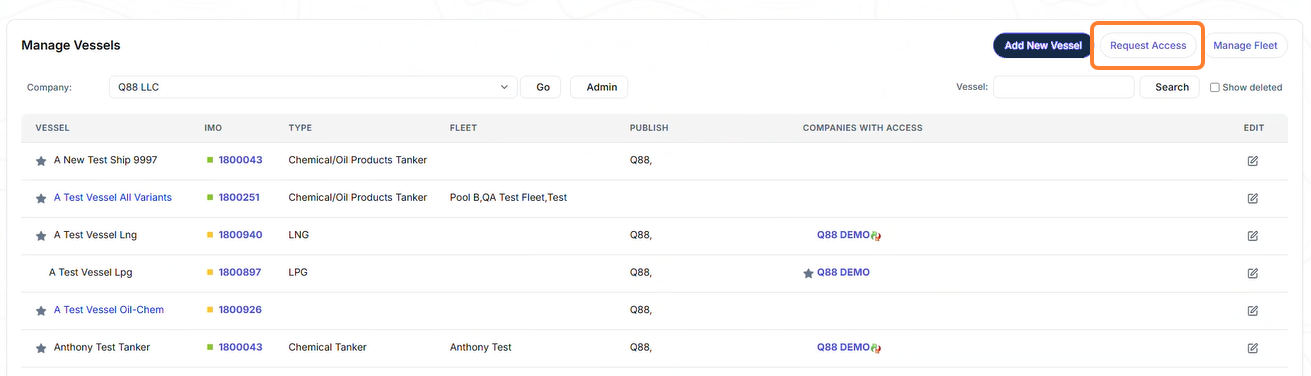
From the new window, you can either Request access or review the pending requests from third parties.
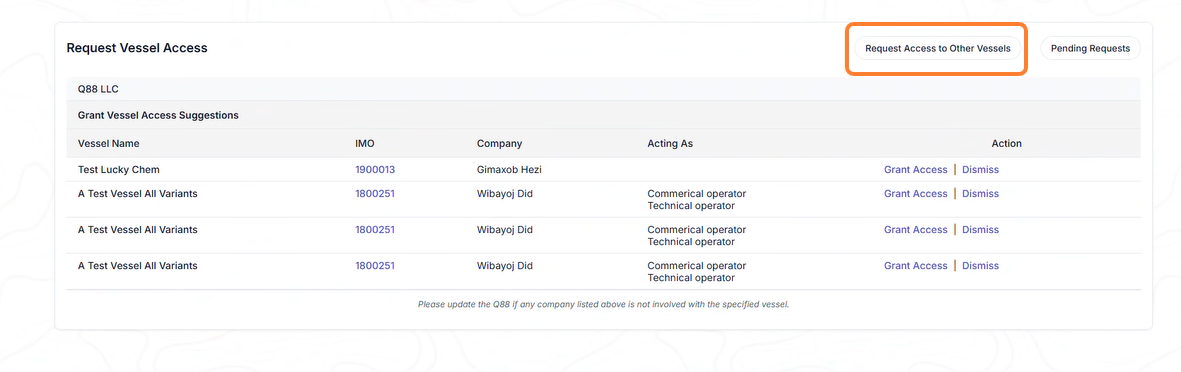
You can Request Access for another vessel(s) by typing the vessel’s names or the IMO numbers in the dialog box → click the Submit button.
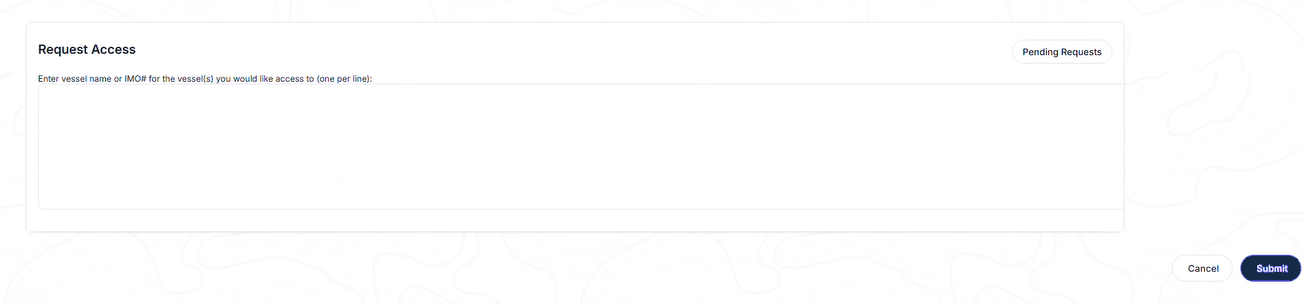
Review Pending Requests
Select Pending Requests to review them.
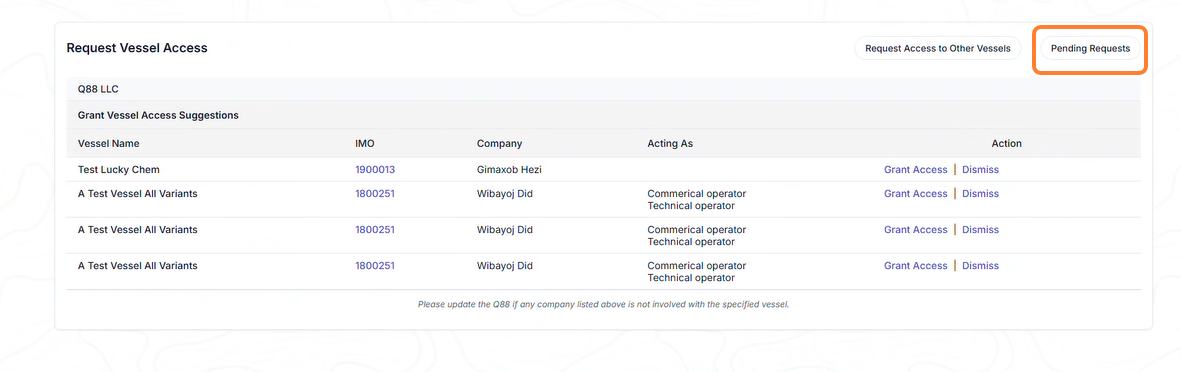
From the next page, you can approve or decline the requests.
Manage Your Fleets
To manage your Fleets, click the Manage Fleet link shown in the following image:
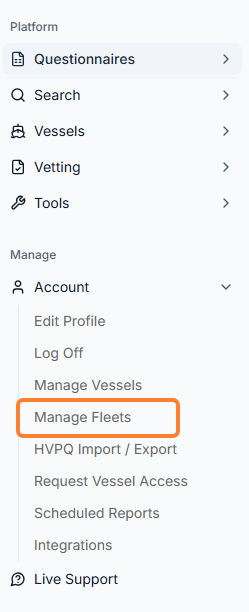
For more info about Manage Fleets, see this article.
Request for Vessel Deletion
There are three different ways you can request a deletion of a vessel:
1. Delete it from your end
To delete a vessel yourself, navigate to Account → Manage Vessels.
-
This will open the list of your vessels. In the list, find the vessel you would like to delete and click the edit icon to open the vessel.
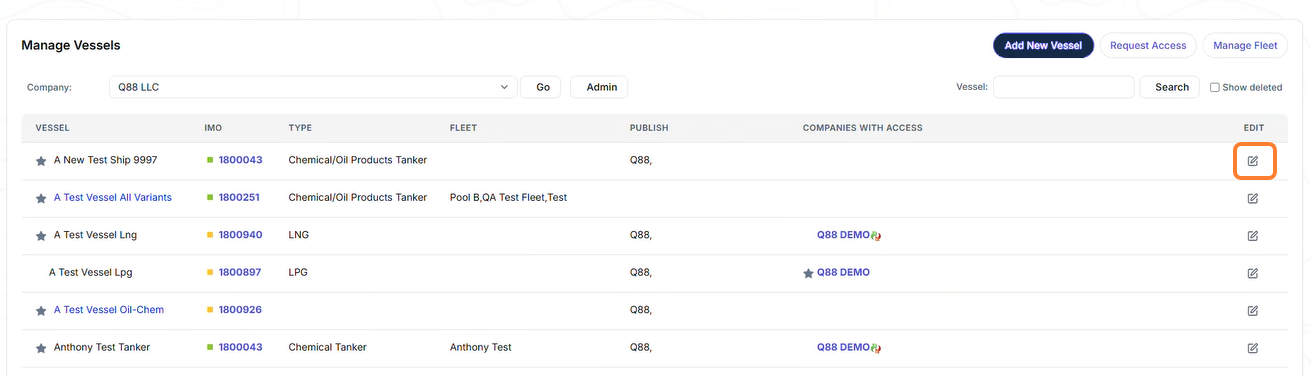
Once you are on the specific vessel’s tab, do the following:
-
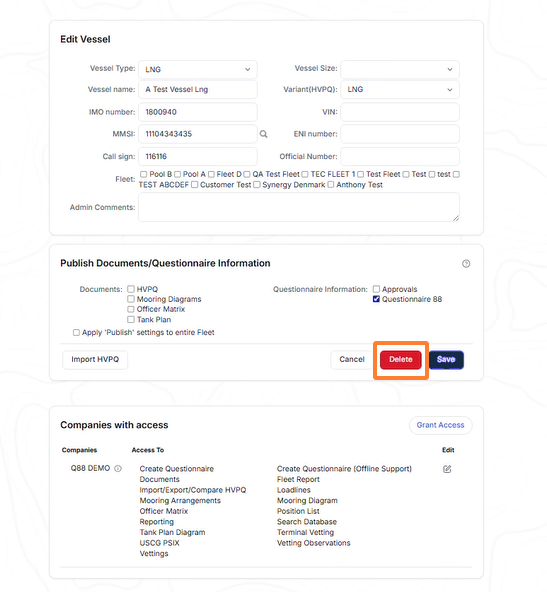
Please enter a note such as “Approval given to transfer to the new owners” in the Admin Comments section as this will enable the support team to work more efficiently by removing the need to request additional approval from you, should the new owners request the vessel transfer. If approval is still required, you may instead enter a comment such as “Please request approval before transferring to the new owners.”
-
Once done, click the Delete button and the system will generate an automatic message in our inbox.
2. Creating a VSD Ticket in Jira
Submit a ticket via https://vesonjira.atlassian.net/servicedesk/customer/portal/24. In the ticket, provide the following information:
-
Vessel Name
-
IMO number
-
Provide us with the name of the new owner (if any).
-
If the new owner is not known at this time, please provide your approval to proceed with the transfer should we receive a request from the future owner to have the vessel transferred.
-
Additionally, please ensure that the officers (if any) have been signed off on the vessel’s entry.
3. Reach Out to the Support Team via Fin
Please follow the steps below:
-
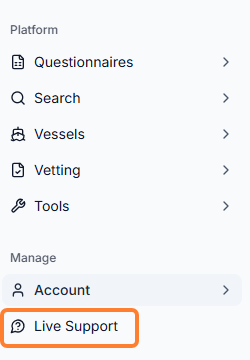
In the sidebar menu, select the Live Support icon.
-
Select Ask a question.
-
Type your question in in the message field.