IMOS - Matching
Home > Chartering > Matching
Matching enables you to view vessel and cargo positions in one location; it consists of a Vessel Positions list and a Cargo Book list. Owned positions are added from TC In, TC Out, and Cargo contracts. When you find a good position to work with, you can create or open a Worksheet in Estimates.
On the main menu

In the Chartering quick links, click

Views of Matching
Vessel Positions and Cargo Book lists appear by default.
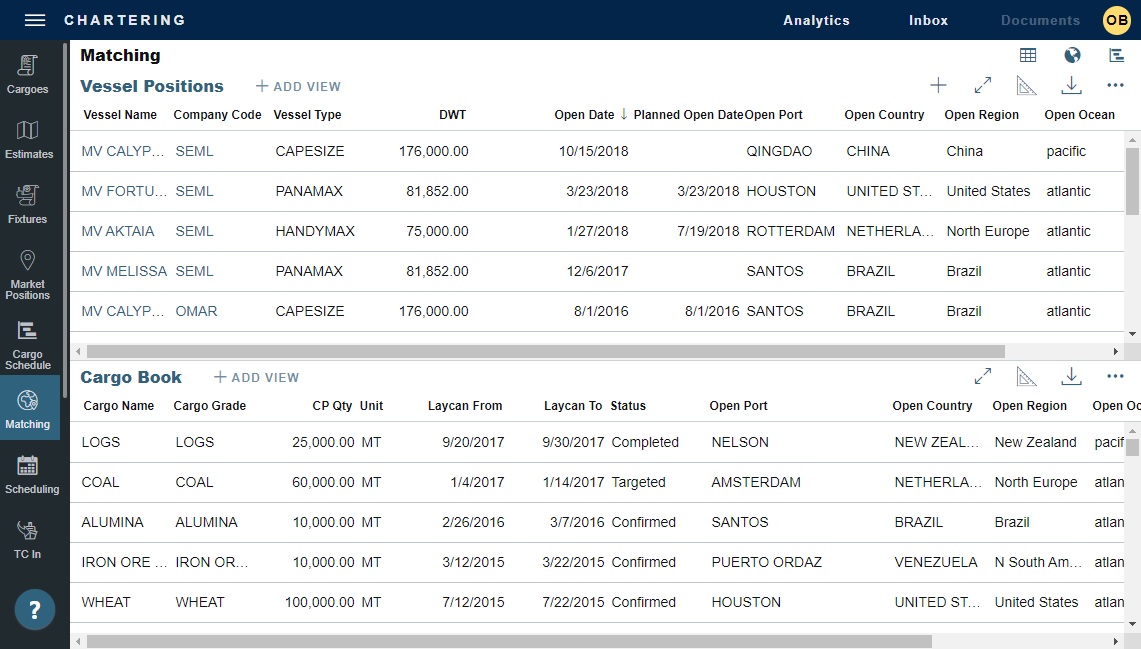
As with any other list, you can search, select, adjust, pin, filter, group, and sort columns, reset to the default view, save user views, and export.
To expand either list to full screen, click
 at the top right.
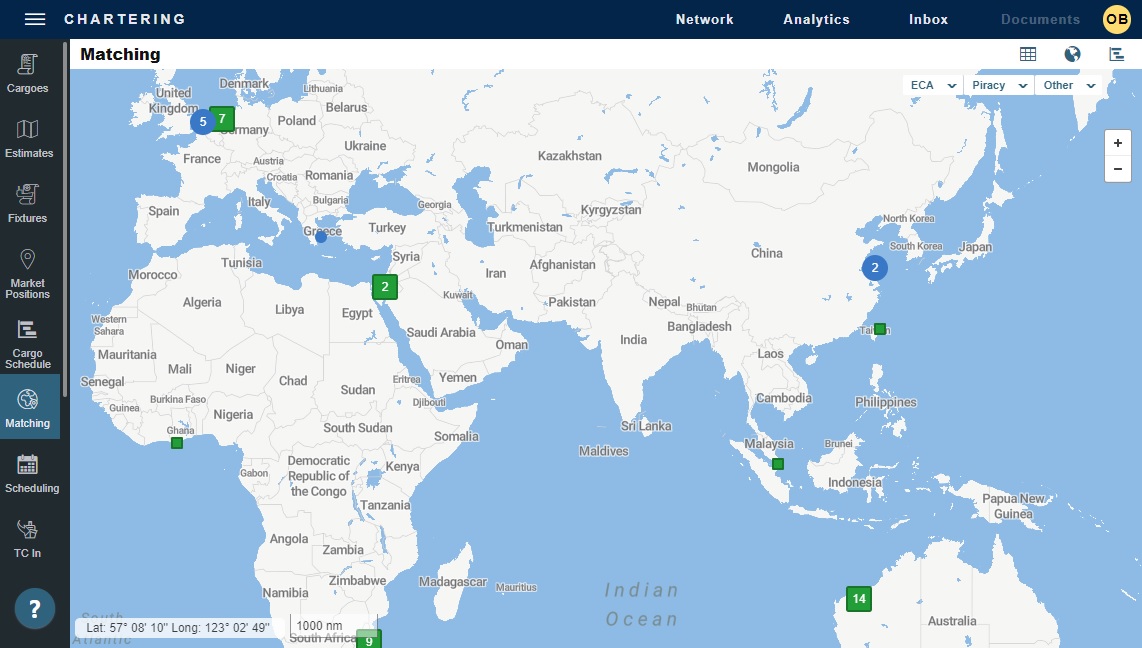
To switch to map view, click
 .
.
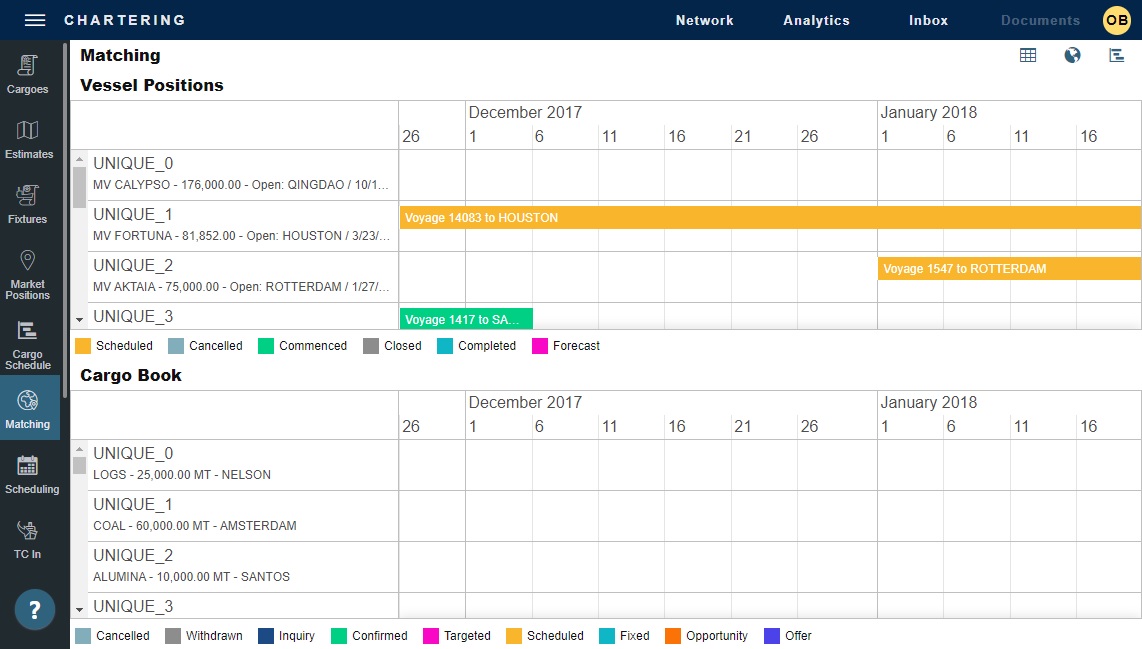
To switch to schedule view, click
 .
.
To return to the two lists, click
 .
.
Suggested Workflow
View positions in Vessel Positions and Cargo Book lists, map, or schedule, or open a position to view its details.
Do any of the following:
Create a new vessel position that is immediately available for use in Estimates.
Open or create a Worksheet of one or more Estimates.
Position Details
You cannot edit existing vessel and cargo positions in Matching.
To open a position and view its Position Details on the right, do one of the following:
On the Vessel Positions or Cargo Book list, click its row.
On the Matching map:
Click its vessel


Click its group icon (for example,


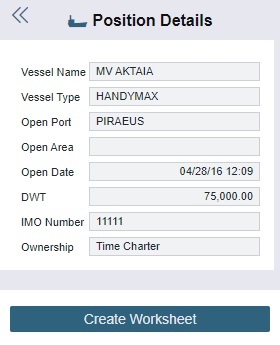
To view a different position, click << to return to the card panel and then click a different card.
On the Matching schedule, click its bar. Voyage or Cargo details view opens in a new browser tab.
Creating a New Vessel Position
On the Vessel Positions list, click

Enter Position Details:
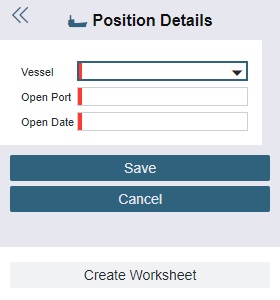
Click Save.
For IMOS access on the web: When a vessel is created in Matching, an Estimate-only vessel is created in IMOS.
Opening and Creating Worksheets
On the IMOS - Matching#Position Details panel, you can open existing or create new Worksheets:
If a position has an associated Worksheet, you can click the Open Worksheet button to open it.
If a position does not have an associated Worksheet, you can click the Create Worksheet button to create one.
