
Managing the Loadline information for your fleet can be a daunting task. If you, for example, have a fleet of 20 vessels then you could have up to 100 loadlines to keep track of.
The purpose of the Loadline module is to make the tracking of the various loadlines easier and at the same time ensure that the questionnaires created always contain the correct loadline information.
This page outlines the different options you have for keeping the Loadline information updated.
1. Accessing the Loadlines Module
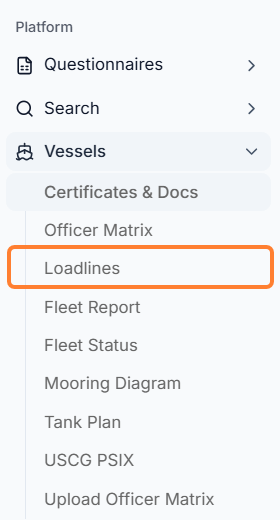
Go to Vessels in the sidebar menu → Loadlines.
2. Loadline Fleet Overview Page
The Loadline Fleet Overview page has been specifically designed to help you manage the Loadline for your fleet.
2.1 Overview
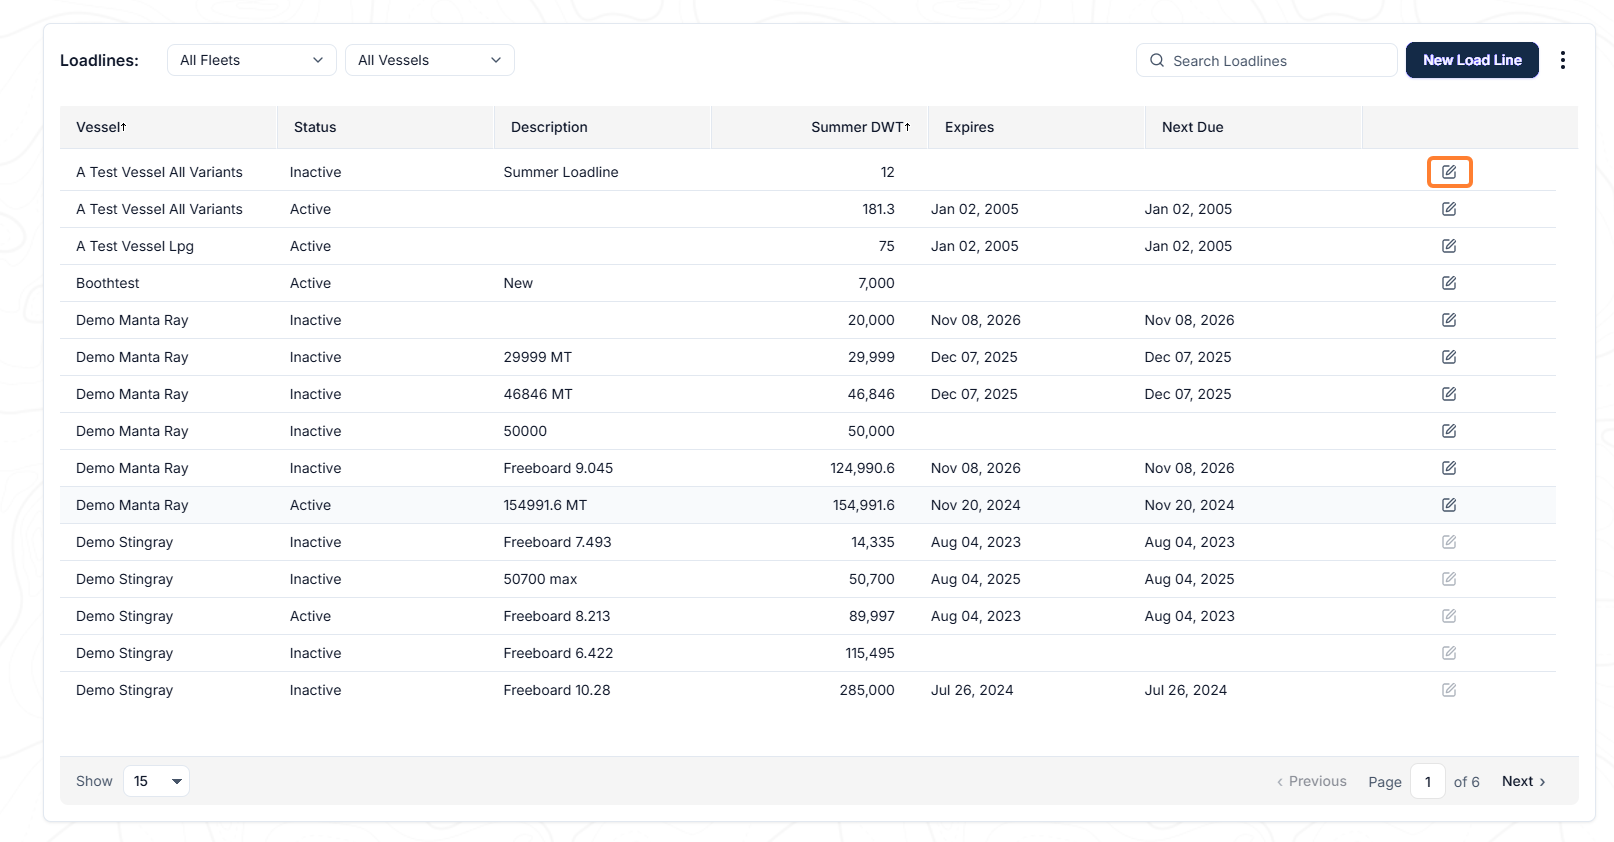
The is the Loadline Fleet Overview page.
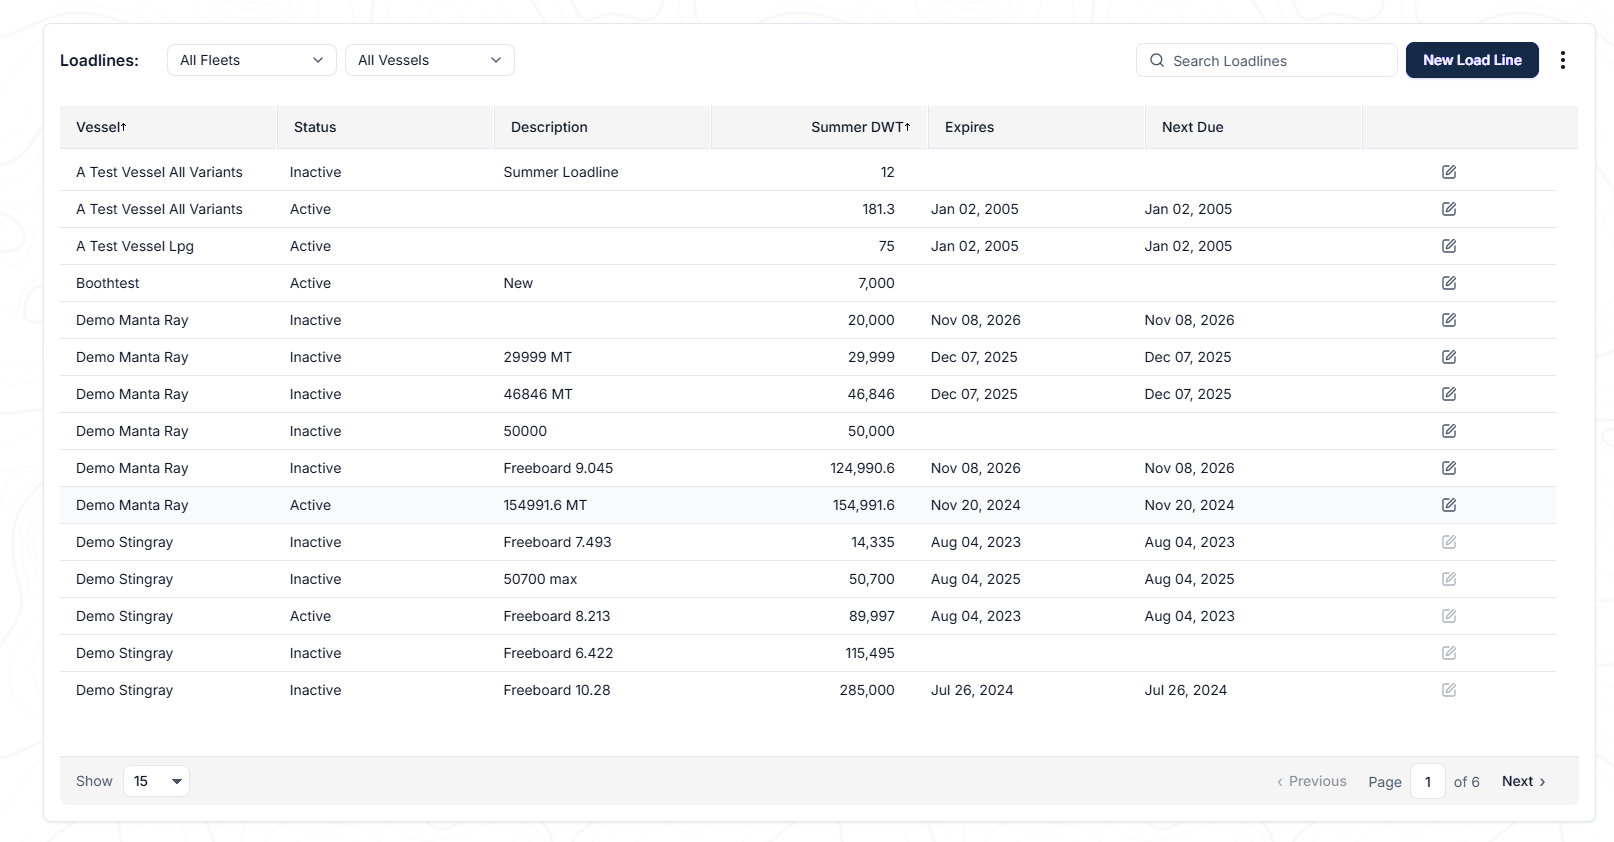
If you have your vessels split into multiple fleets then the Fleets dropdown list will be displayed in the upper-left of the page. Selecting a fleet from the dropdown list refreshes the view for the vessels in the selected fleet.
The Actions menu contains the following options which can be performed from this page.

-
Refresh Data: Refresh the underlying data from the database.
-
Reset View: Resets the sorting and filtering for the selected View.
2.2 Column Sorting
The Loadline grid supports multi-column sorting. An arrow is displayed next to each column which has been sorted. To sort by a specific column, click the column header. To sort by multiple columns hold down the Shift key and select each column you wish to sort by.
If you want to reset the sorting and filtering back to the original settings then click Reset View under the ‘Actions’ button.
2.3 Filtering the Data
The Loadline grid supports column filtering. This is similar to the filtering available in Microsoft Excel® or SharePoint®. To filter the data, click the triangle in the header of the column you wish to filter on. A popup menu is displayed letting you select the items you wish to filter on. Click the ‘Apply Filter’ link to apply the filter on the selected items.
Once a filter has been applied the header for that column will turn grey.
If you want to reset the sorting and filtering back to the original settings then click the Clear filter option OR Reset View under the Actions menu.
2.4 Paging
By default, the Loadline grid will display 15 records per page. You can change that option in the lower-right corner of the page to 25, 50, 100 or 200 records per page. The paging buttons, shown at the bottom of the page, allow you to browse through the pages.

3. Loadline Detail Page
3.1 Overview
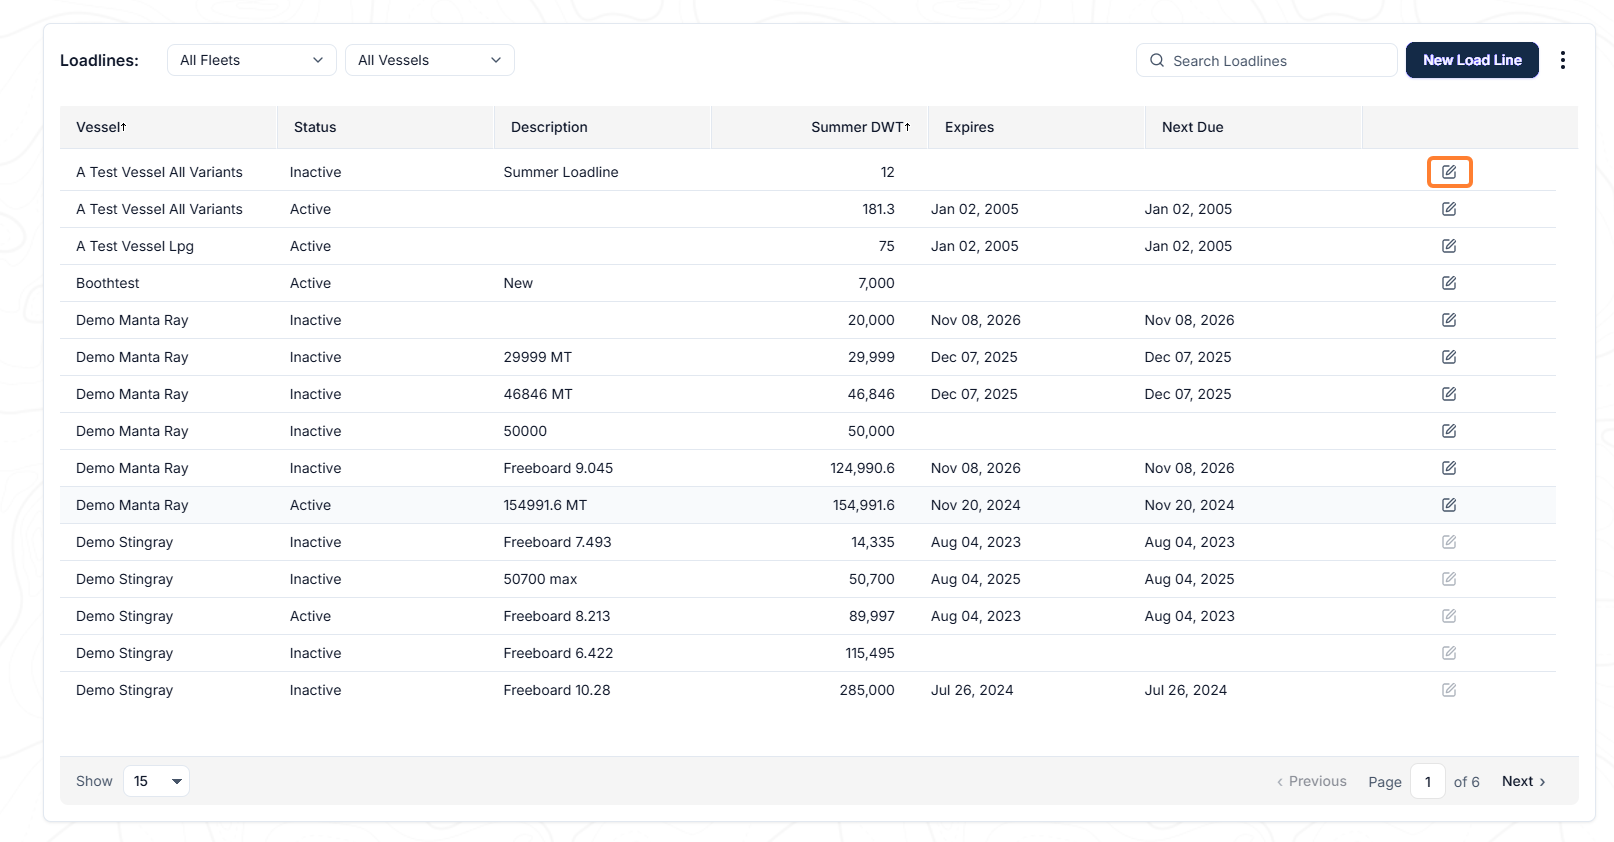
The Loadline Detail page can be accessed by clicking the pencil icon in the right column OR double clicking on a row for any record in the Loadline Fleet Overview page.
The Loadline detail page shows for the selected vessel.
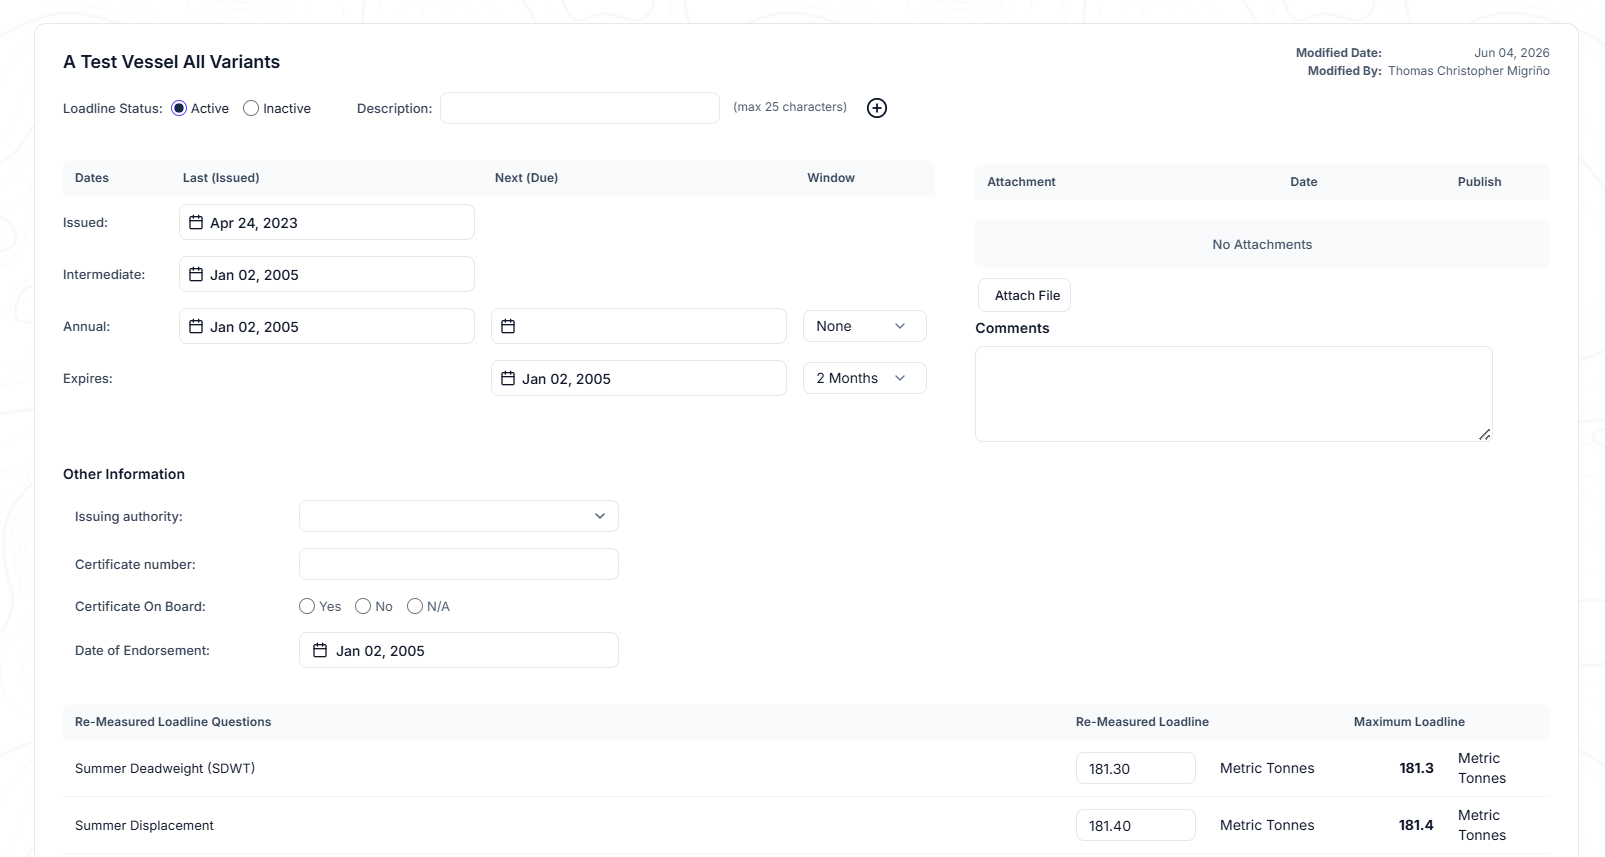
Loadline Header Field List
|
Label |
Description |
|---|---|
|
Loadline Status |
Displays the status of the loadline, the two possible options are:
Look at the below Loadline Status Definitions for more |
|
Description |
This is an optional field where you can enter a description for the selected loadline. |
|
Modified Date / Modified By |
Displays the date/time and who updated the selected loadline. |
3.2 Loadline Status Definitions
|
Active |
A loadline that is set to ‘Active’ will be the one which is used in the other modules on Q88 for the selected vessel. This includes:
|
|
Inactive |
An ‘Inactive’ loadline does not populate any other modules for the vessel on Q88 but an inactive loadline can be used when creating a questionnaire if it is needed due to a specific voyage requirement. |
3.3 Editing a Loadline
The Loadline Detail page can be accessed by clicking the Edit icon in the right column or double clicking on a row for any record in the Loadline Fleet Overview page.
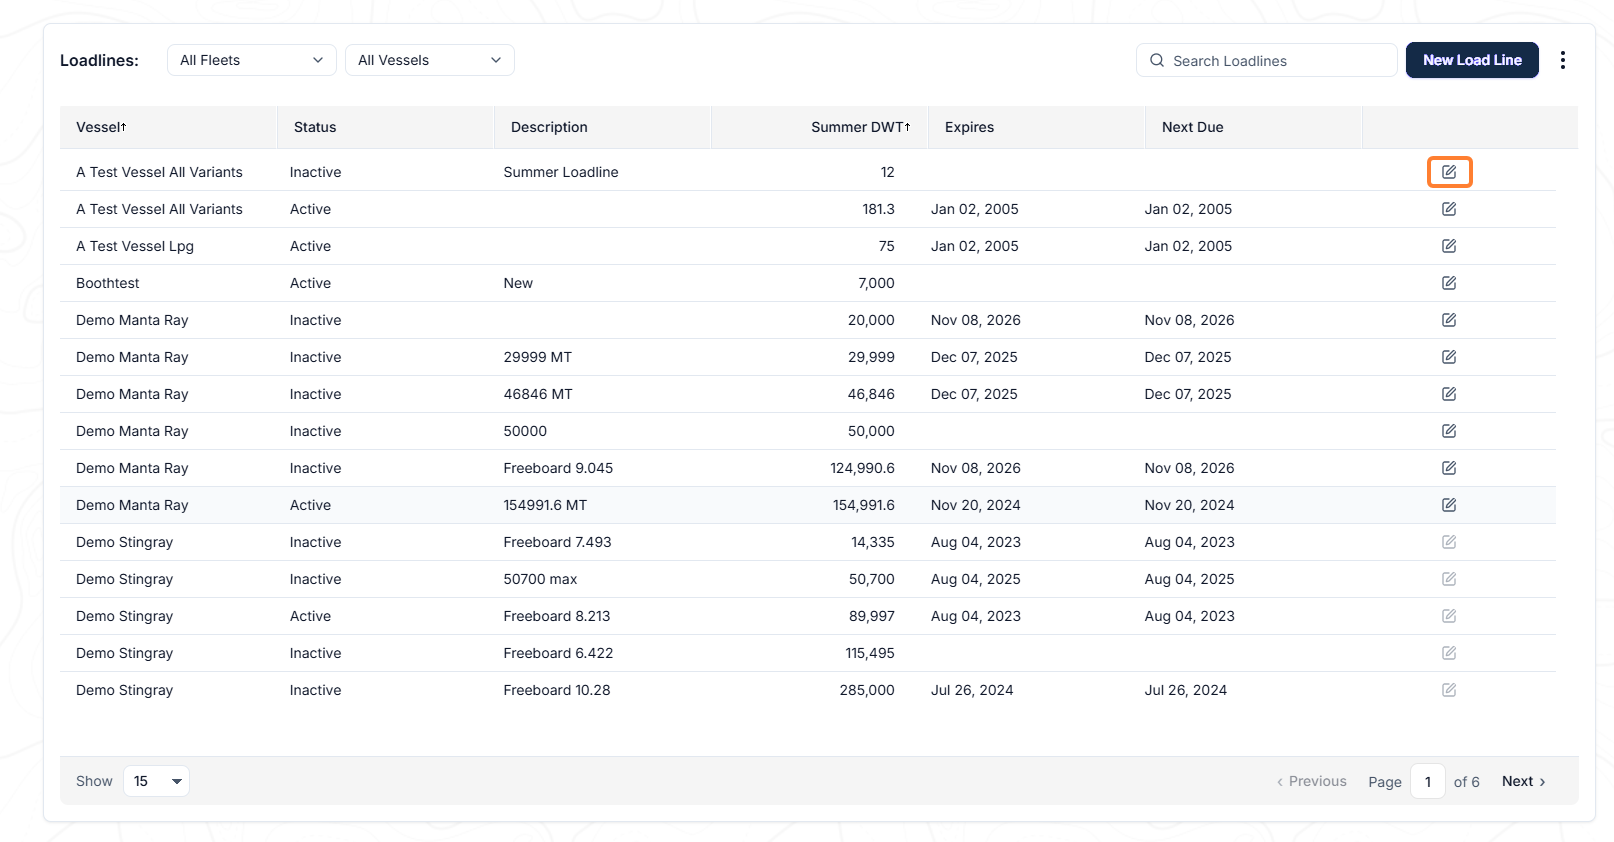
3.4 Adding a Loadline
To add a Loadline for a vessel, click New Load Line.
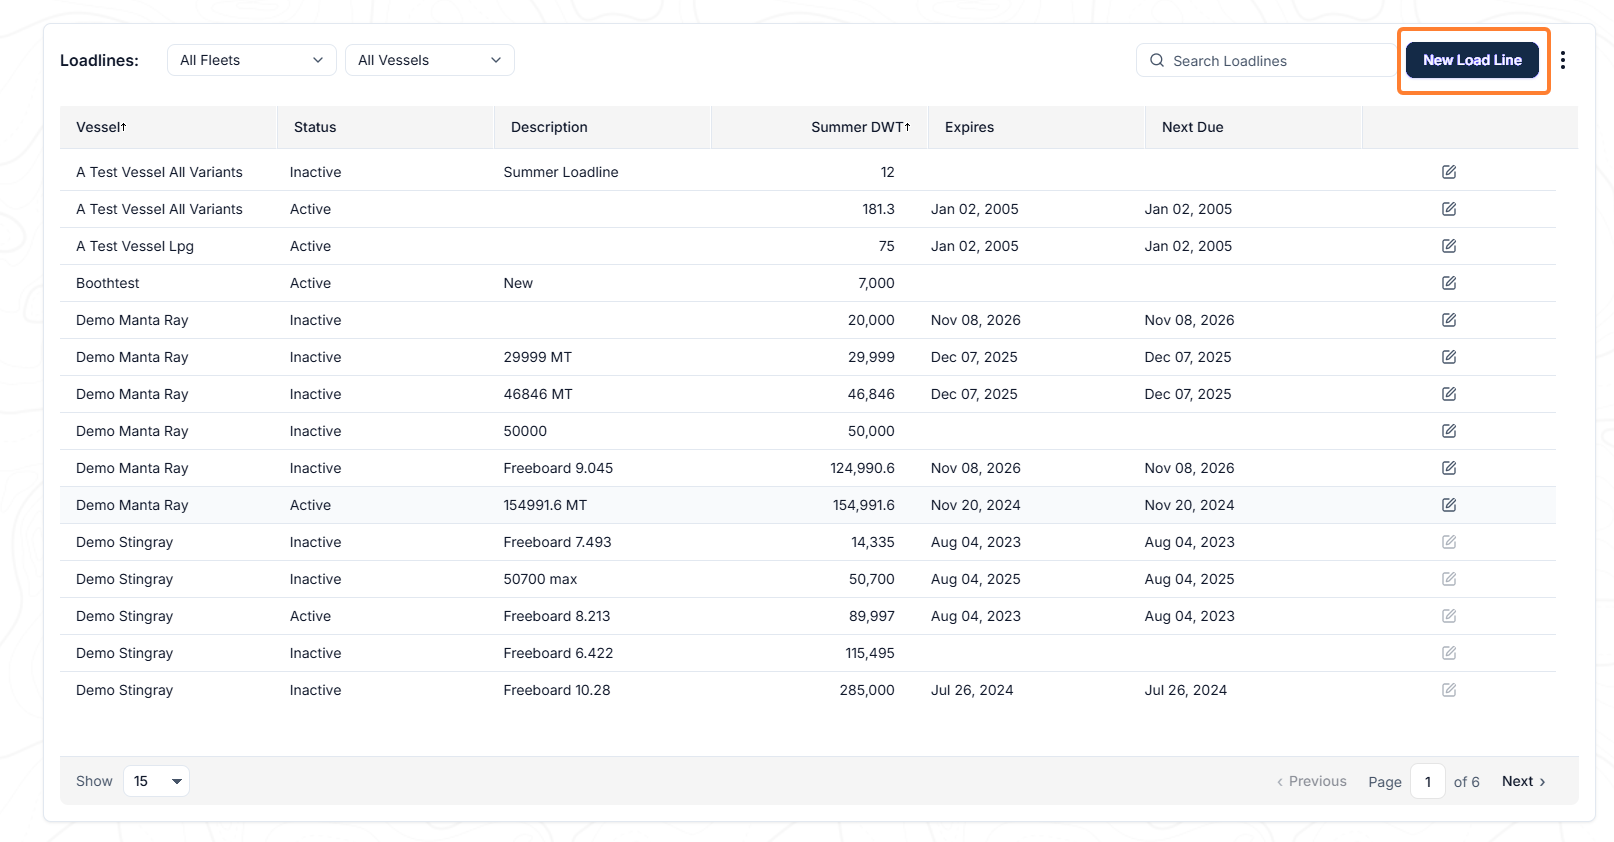
A pop-up window is displayed where you can specify the vessel you want to add a loadline for.
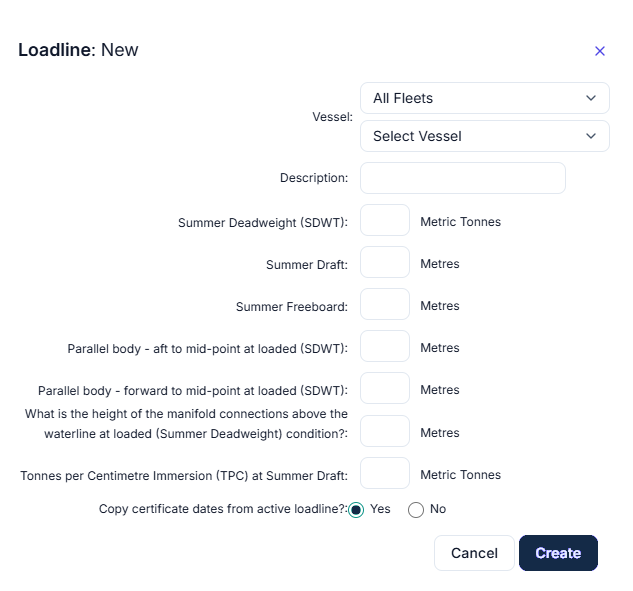
Add the data in the fields provided and click the Create button.
-
All fields are required to be completed before you are allowed to Create except the field Description (optional). If any of the required fields is left blank, the yellow triangle with the exclamation mark will display.
-
If there is another active loadline already existing for the same vessel, you can select to “Copy certificate dates from active loadline?” by selecting Yes or No.
Once the required or all values have been added and Create is selected, and you will be directed to the Edit Loadline page where the rest of the details for the selected Loadline can be entered.
3.5 Deleting a Loadline
Click the Edit icon in the right column or double click on a row for any record in the Loadline Fleet Overview page.
The following window will pop-up. Click Yes to delete the loadline.
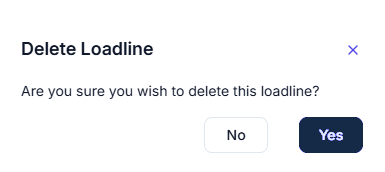
You will get a message that the loadline has been deleted.
3.6 Changing the “Active” Loadline
To change the active loadline for a vessel, edit the loadline for the vessel which you wish to make the active loadline.
When you select the Active radio button you will be prompted to confirm you wish to make the current “inactive” loadline the “active” loadline. Click OK.
You cannot deactivate an active loadline. You must select the inactive loadline you wish to make the active one.
4. Questionnaire Integration
4.1 Selecting a Loadline When Creating a Questionnaire
When you select a vessel in the Create Questionnaire module which has one or more loadlines, the loadline dropdown list will display.
By default, the Active loadline will be automatically selected. If you wish to select another loadline to use for the questionnaire you need to create, then you can select it from the dropdown list.
4.2 Populating Questionnaires Which Contain Loadline Information
Many questionnaires ask for information regarding the vessels loadline. When creating questionnaires containing these questions, the system will automatically populate the answer with the data contained in the Loadline module. The questions will be highlighted with the “loadline” image to the right of the answer field.
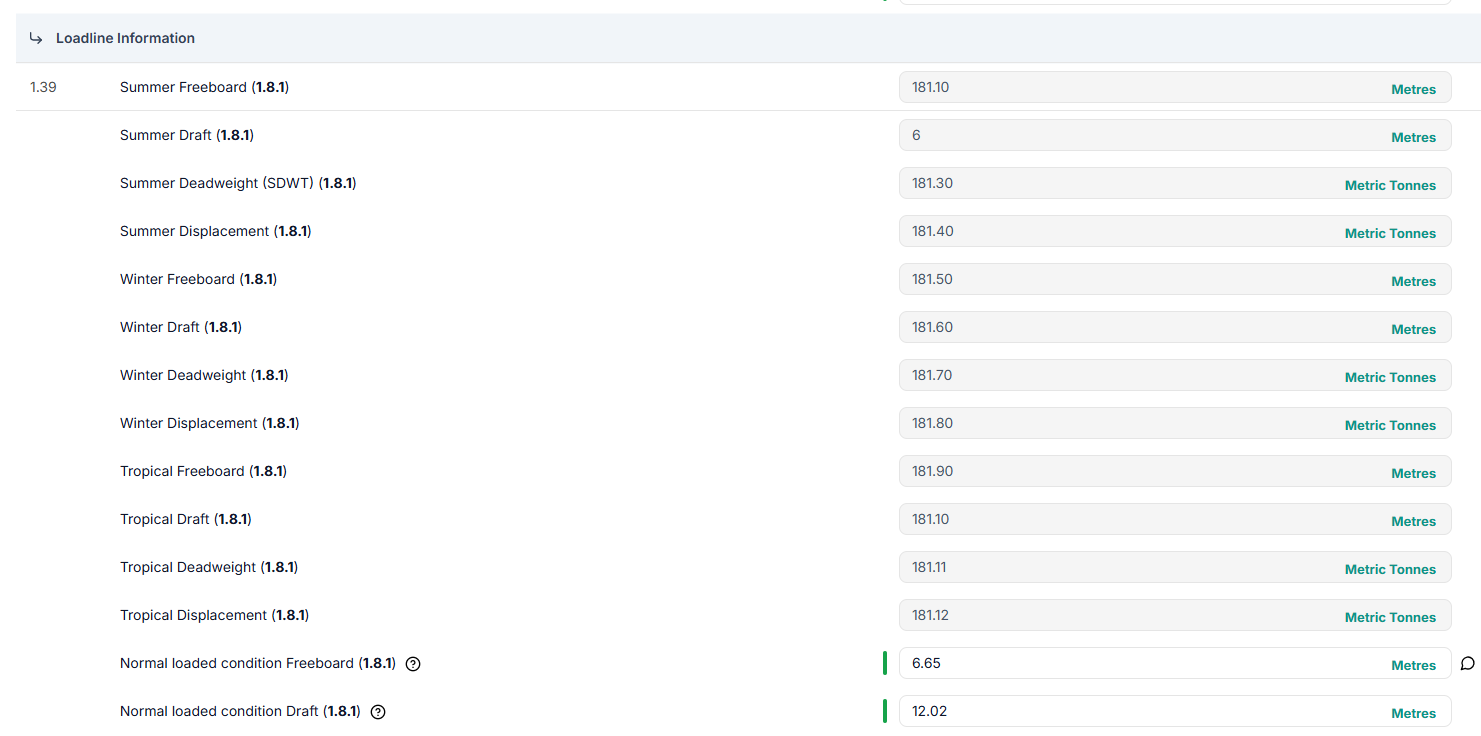
This functionality is automatically enabled once the Loadline has been added to the system for the selected vessel. You will no longer be able to change the answers when you are creating a questionnaire, the answers must then be updated in the Loadline module.
The textboxes on the Create Questionnaire page are shown with a grey background indicating that the answers are read-only and any changes will not be saved. If you do make a change, then the questionnaire you are creating will contain the updated answers but the underlying data in the system will not.
If you have selected one of the other ‘Inactive’ loadlines then the Create Questionnaire page will show that you are creating the loadline for one of the re-measured/inactive loadlines.
5. Notifications
5.1 Overview
There is an email notification that is generated by the system when records are changed in the Loadline module.
5.2 Notification Types
|
Notification |
Description |
When Sent |
|---|---|---|
|
Loadline Changed |
An email is sent out each time a vessel “Active” loadline is changed to another loadline |
Immediate |
|
Loadline Deletion |
An email is sent out each time a vessel “Inactive” loadline is deleted |
Immediate |
5.3 Subscribing to Notifications
You can subscribe to the Loadline email notifications by going to Account → Scheduled Reports. Click New Schedule to add a report schedule. Select Loadlines as the module and choose a Report.
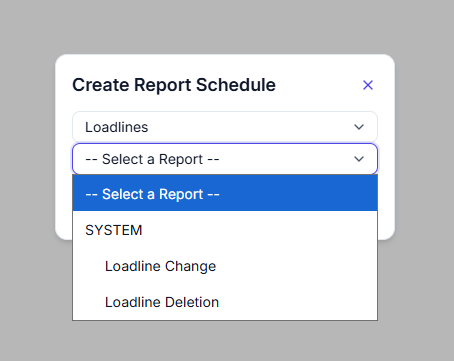
Add the Recipients email address(es), select the Fleet and Save.
To filter the Scheduled Reports column Module on Loadlines, type Loadlines in the search box.