
Home > Voyage Reporting > Details - Forms
Requires the Voyage Reporting module. You must have the View Forms Module Right selected, under Actions in Veslink.
In form details, with appropriate rights, you can open for resubmission, approve, reject, or print the form.
Form Details
To view the details of a form:
-
In the Forms list (accessible from Voyage Details, Port Calls, or Forms), click its row.
-
On the Forms map, click its Vessels card and then, in the Forms panel, do the following:
-
If there is only one form associated with the voyage, click View Form.
-
If there are multiple forms associated with the voyage, click its card and then click View Form.
-
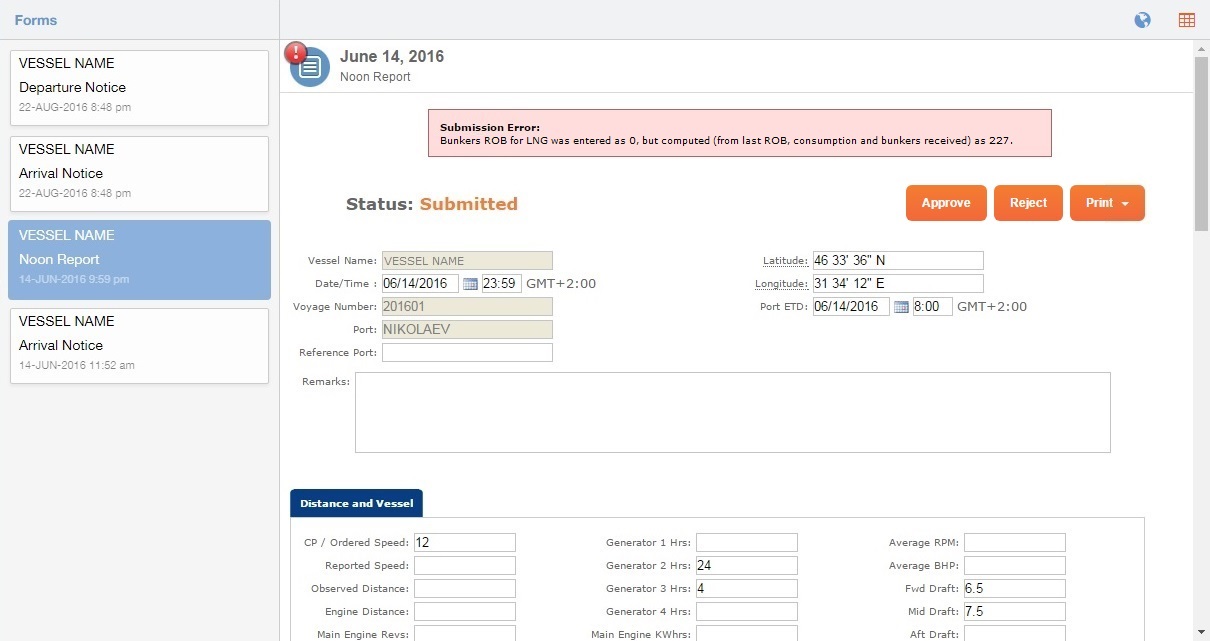
-
As with any other details view, you can navigate to a different record by clicking its card or return to the list by clicking its Name.
-
To view vessels and voyages on the map, click


-
To share a form, copy the URL and then share it with any signed-in users in your organization.
Each form includes a Status:
-
Pending: Forms that require approval.
-
Pending with Errors: Forms that has errors that must be corrected before it can be approved.
-
Approved: The form was approved, and its data was validated and imported.
-
Processing: The approved or resubmitted form is being validated.
-
Submitted: The form submitted but is not yet approved, or it was approved but approval errors occurred.
-
Error: The form was submitted with one or more errors.
-
Open for Resubmit: The form was previously approved and opened for resubmission, but the resubmission attempt resulted in new errors that must be corrected.
-
Rejected: The form was rejected.
It can also include:
-
A message at the top:

-
If the form has an error, a message explaining the error appears, so it can be fixed.
-
If the form is not the most recent version, a message appears, so the latest version can be requested/sent. The form can still be approved.
-
-
An attachment sent with the report:

-
Click to download and save an attachment.
-
Attachments are stored along with the form for three months.
-
Attachments do not print along with forms.
-
If a form is rejected, the attachment is rejected as well.
-
-
The form source:
-
Select Form Source from the available columns list. You can select the following form sources in the Veslink Forms list: Offline, Online, API, Agent Portal, Onboard Office, Onboard Vessel, and Onboard Agent Portal. Forms submitted prior to June 20th will appear blank as data is not available before this date.
-
Approving or Rejecting a Form
Note: You must approve Veslink forms in the correct port sequence they occurred in port to avoid errors on other forms in the port sequence.
After a form has been submitted:
-
To approve a form, click

When a form is approved, all other pending forms for that voyage refresh because the newly approved data may affect subsequent forms.
-
To reject a form, click

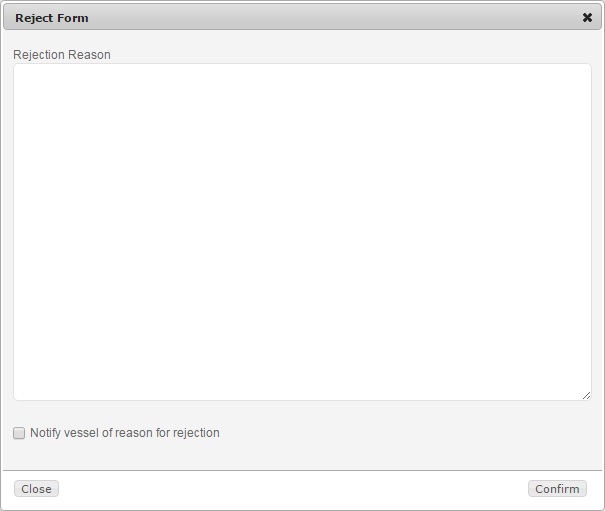
In the Reject Form window:
-
Notify vessel of reason for rejection: To send a rejection notification to the vessel email address, select this checkbox.
-
Rejection Reason: Enter a reason for the rejection.
-
-
You can reject forms with a status of Approved or Open for Resubmit, such as, correcting a form that was approved in error. Rejecting a previously approved form does not automatically reverse any changes it made to the Voyage; you must correct those changes manually.
Opening a Form for Resubmission
If a form is Approved, you can open it for resubmission by a vessel or agent: select 
When approving a voyage report form (such as a Departure Notice ), IMOS adds the form's data to any values already entered manually in the Voyage Itinerary. It does not overwrite existing manual entries. The only exception is estimated values, which appear in blue in the itinerary and are replaced when the form is approved.
To avoid such discrepancies, it is advised to adopt a consistent data entry method for each voyage: either exclusively populate all data through approved forms or manually enter all data directly into the Voyage Itinerary. Combining these two approaches is not recommended.
Rejecting a form will not reverse the changes to the Voyage data in IMOS. You will have to manually update the voyage to reverse any changes that were automatically made when the form was approved.
Printing a Form
To print a form, click 